
Most countertop problems do not start at installation. They start much earlier – with the wrong slab, a rushed template, or fabrication decisions that were never explained clearly.
That is why understanding the kitchen countertop fabrication process matters before your project reaches the shop floor. Whether you are remodeling your own kitchen or specifying materials for a client, the finished result depends on more than color and price. It depends on how the slab is measured, cut, finished, transported, and installed.
A strong fabrication process reduces expensive mistakes. It also gives you better control over seam placement, overhang support, sink fit, edge details, and the way movement in the stone is presented across the kitchen.
What the kitchen countertop fabrication process actually includes
When people hear fabrication, they often picture one step – cutting a slab into the shape of a countertop. In practice, the kitchen countertop fabrication process is a sequence of connected decisions, each one affecting appearance, performance, and timing.
It begins with material selection. Natural stones such as marble, granite, and quartzite all behave differently during cutting and finishing. Engineered quartz has its own fabrication requirements as well. A fabricator has to account for density, pattern direction, fragility around cutouts, edge profile limitations, and the intended use of the kitchen.
From there, the process moves into field measurements, digital templating, slab layout, precision cutting, edge finishing, sink and cooktop cutouts, polishing, quality control, and final installation. If any one of those stages is handled carelessly, the problem usually shows up where clients notice it most – at the seam, around the sink, or in the overall visual balance of the top.
Step 1: Slab selection is about more than appearance
The showroom stage is where most homeowners focus on color, veining, and finish. That is appropriate, but it is only part of the decision. A good fabrication partner will also help evaluate whether a material fits the project structurally and practically.
For example, marble can be beautiful in a kitchen, but it is softer and more prone to etching than many homeowners expect. Quartzite may offer the movement and visual depth people want, with greater hardness, but some quartzites are more complex to cut and finish cleanly. Quartz is consistent and low maintenance, though pattern repetition and heat sensitivity should still be discussed honestly.
This is also the stage where slab size matters. A large island may require a full slab with careful planning to avoid unnecessary seams. Dramatic veining may need bookmatching or directional layout. If the fabricator is involved early, these choices can be planned before they become limitations.
Step 2: Templating sets the entire job up for success
Once cabinets are installed and level, the project is ready for measurement. This step is often called templating, and it is one of the most important parts of the process.
Today, many shops use digital templating tools rather than relying only on manual patterns. Digital measurement improves accuracy, especially on kitchens with long runs, angled walls, waterfall panels, or large islands. But the technology alone is not the point. What matters is how carefully those measurements are interpreted.
A good template captures more than dimensions. It confirms overhangs, appliance locations, sink specifications, faucet drilling, seam strategy, backsplash conditions, and any areas where walls are out of square. Kitchens rarely behave like perfect rectangles. Fabrication has to reflect what is actually on site, not what the plan looked like on paper.
If changes happen after templating – a cabinet shifts, a new sink is selected, or an appliance specification changes – the countertop may need to be retemplated. That can affect schedule, but it is better than forcing a poor fit later.
Step 3: Slab layout is where design and fabrication meet
Before cutting starts, the template is placed over the chosen slab layout. This is where an experienced team protects both the technical outcome and the visual one.
On highly active natural stone, layout determines what part of the slab ends up on the island, where seams fall, and whether veining flows in a way that feels intentional. On quieter materials, layout still matters because tone variation, mineral movement, and finish consistency can change across a slab.
This is also where practical trade-offs come into view. A client may want no seam on an island, but slab size, access into the home, or structural risk may make that unrealistic. Another client may want the boldest part of a quartzite slab centered on the island, but that could shift usable material away from the perimeter runs. There is rarely one perfect answer. The right answer is the one that balances beauty, performance, and feasibility.
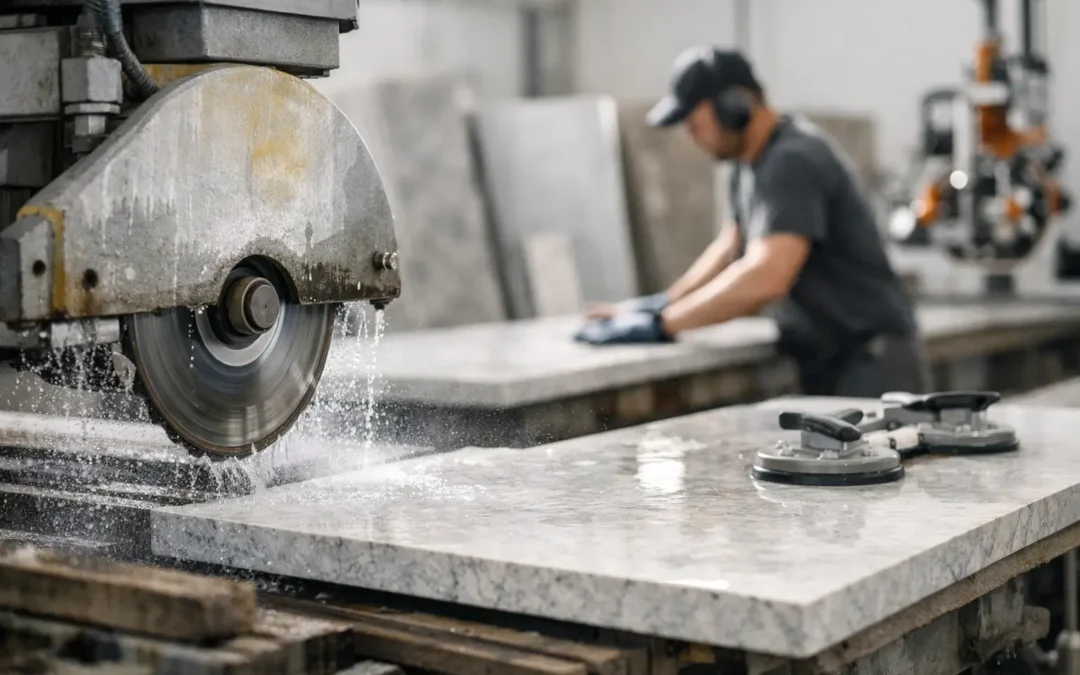
Step 4: Cutting, shaping, and machining the slab
Once the layout is approved, fabrication begins in the shop. The slab is cut using bridge saws, CNC machinery, waterjet systems, or a combination of methods depending on the material and detail required.
Straight cuts define the countertop sections. Then the shop creates sink openings, cooktop cutouts, faucet holes, mitered edges, drain grooves, or specialty details such as integrated stone features. Precision matters here because even small deviations can create visible issues at installation.
Some materials are more forgiving than others. Granite generally handles fabrication well. Marble can chip more easily at vulnerable points. Quartzite may require slower, more deliberate tooling. Quartz is stable and consistent, but heat from fabrication and edge detailing still needs to be controlled properly.
This is why integrated fabrication matters. When the same team handles measurement, cutting, and finishing, there is less room for miscommunication.
Step 5: Edge finishing and surface treatment
The edge profile changes the look of the entire kitchen. Eased edges feel clean and modern. A mitered build-up can create the visual weight of a thicker slab. More decorative profiles suit more traditional spaces, though they can add cost and increase cleaning complexity.
After shaping, the edges are polished to match the top surface as closely as possible. On some materials, especially natural stone with movement or crystal structure, edge appearance may vary slightly from the face of the slab. A trustworthy fabricator should explain that upfront rather than promising a perfect visual match where the material itself will not allow it.
If the project uses natural stone, sealing may also be part of the finishing process, depending on the material. Not every stone needs the same approach, and not every sealer performs the same way. The right recommendation depends on porosity, finish, and how the kitchen will be used.
Step 6: Quality control before the stone leaves the shop
A countertop can be cut accurately and still fail the final standard if quality control is rushed. Before transport, each piece should be reviewed for dimensions, edge consistency, polish quality, cutout accuracy, seam readiness, and any visible flaws that need attention.
This is also the moment to confirm that reinforcement has been handled properly where needed, especially around sinks, cooktops, and narrow sections. Stone is durable, but it is not indestructible. The weakest moments often happen during movement and installation, not after the countertop is in place.
At Stonhaus Design, this kind of step matters because premium material deserves premium execution. The slab is only half the story. The finished result depends on what happens in the fabrication studio just as much as what happens in the showroom.
Step 7: Installation is the final test of the fabrication process
Installation day is when all prior decisions become visible. The team sets each piece, checks fit against walls and cabinets, levels the surface where needed, joins seams, secures sink components, and completes final detailing.
A well-fabricated top should arrive ready to fit with minimal field adjustment. Too much on-site grinding or forced correction usually signals that earlier steps were not controlled tightly enough.
Seams deserve realistic expectations. Even excellent seams are not invisible. What a good process delivers is a seam that is thoughtfully placed, structurally sound, and visually minimized. The same goes for transitions at backsplashes, waterfall panels, and corners. Precision improves the result, but honest communication matters just as much.
What can affect timing and cost
Clients often ask how long fabrication takes after slab selection. The answer depends on cabinet readiness, template timing, slab complexity, edge profile, sink type, and installation conditions.
A straightforward quartz kitchen with simple edges moves faster than a natural quartzite project with bookmatched slabs, mitered waterfall ends, and tight access into the home. Custom details add value, but they also add labor and shop time. That is not a drawback if it is planned correctly. It is simply part of doing detailed work well.
The most reliable projects are the ones where decisions are made in the right order: cabinets finalized first, appliances confirmed, sink selected, slab approved, template completed, and fabrication released without last-minute design changes.
Why the right fabrication partner changes the outcome
The kitchen countertop fabrication process is not just production. It is interpretation. A skilled team reads the slab, anticipates weak points, guides layout decisions, and protects the design intent while solving for real-world conditions.
That is especially valuable in kitchens where the countertop is carrying much of the visual impact. On an island, one seam placement or one missed veining opportunity can change the whole room. On a busy renovation schedule, one measurement error can delay multiple trades.
The best experience is not the one with the most jargon or the longest sales pitch. It is the one where you know what is happening, why it matters, and what to expect at each stage.
If you are choosing stone for a kitchen, ask to see the process as clearly as you see the slab. Good fabrication should feel controlled, thoughtful, and transparent from the first selection to the final set. That is how beautiful materials end up looking right at home.