The most common way marble gets stained is a well-meant wipe. A paper towel dragged across spilled wine spreads it over more stone. The Natural Stone Institute’s care advice is to blot instead, then flush the spot with water and mild soap, rinse and dry.
To prevent stains on marble countertops, do four things: keep an impregnating sealer current, blot spills as soon as they happen, put trays, coasters and boards where oil, wine, coffee and cosmetics land, and clean with a neutral cleaner made for stone.
Sealer makes marble more stain resistant, not stain proof, and it does nothing against etching, which is a separate problem.
Stain or etch? Read the mark before you treat it
A stain is a substance the stone has absorbed. It usually looks darker than the surface around it, as oil does, or tinted, as coffee and wine do. An etch is the surface itself dissolving where an acid sat. It looks lighter, duller or cloudy, and you can sometimes feel it as a faint roughness.
Marble is mostly calcium carbonate, and the institute’s care guide notes that calcium carbonate is sensitive to acids. That is why lemon, vinegar, wine and tomato can etch marble even when it is sealed.
The difference decides the fix. Stain removers and poultices do nothing for an etch.
For etched areas, the institute’s advice is to contact your stone dealer or a professional stone restorer for refinishing or repolishing. That is specialist restoration work: Stonhaus Design fabricates and installs countertops and does not offer repairs or refinishing, so the most useful thing we can do is help you avoid the marks in the first place.
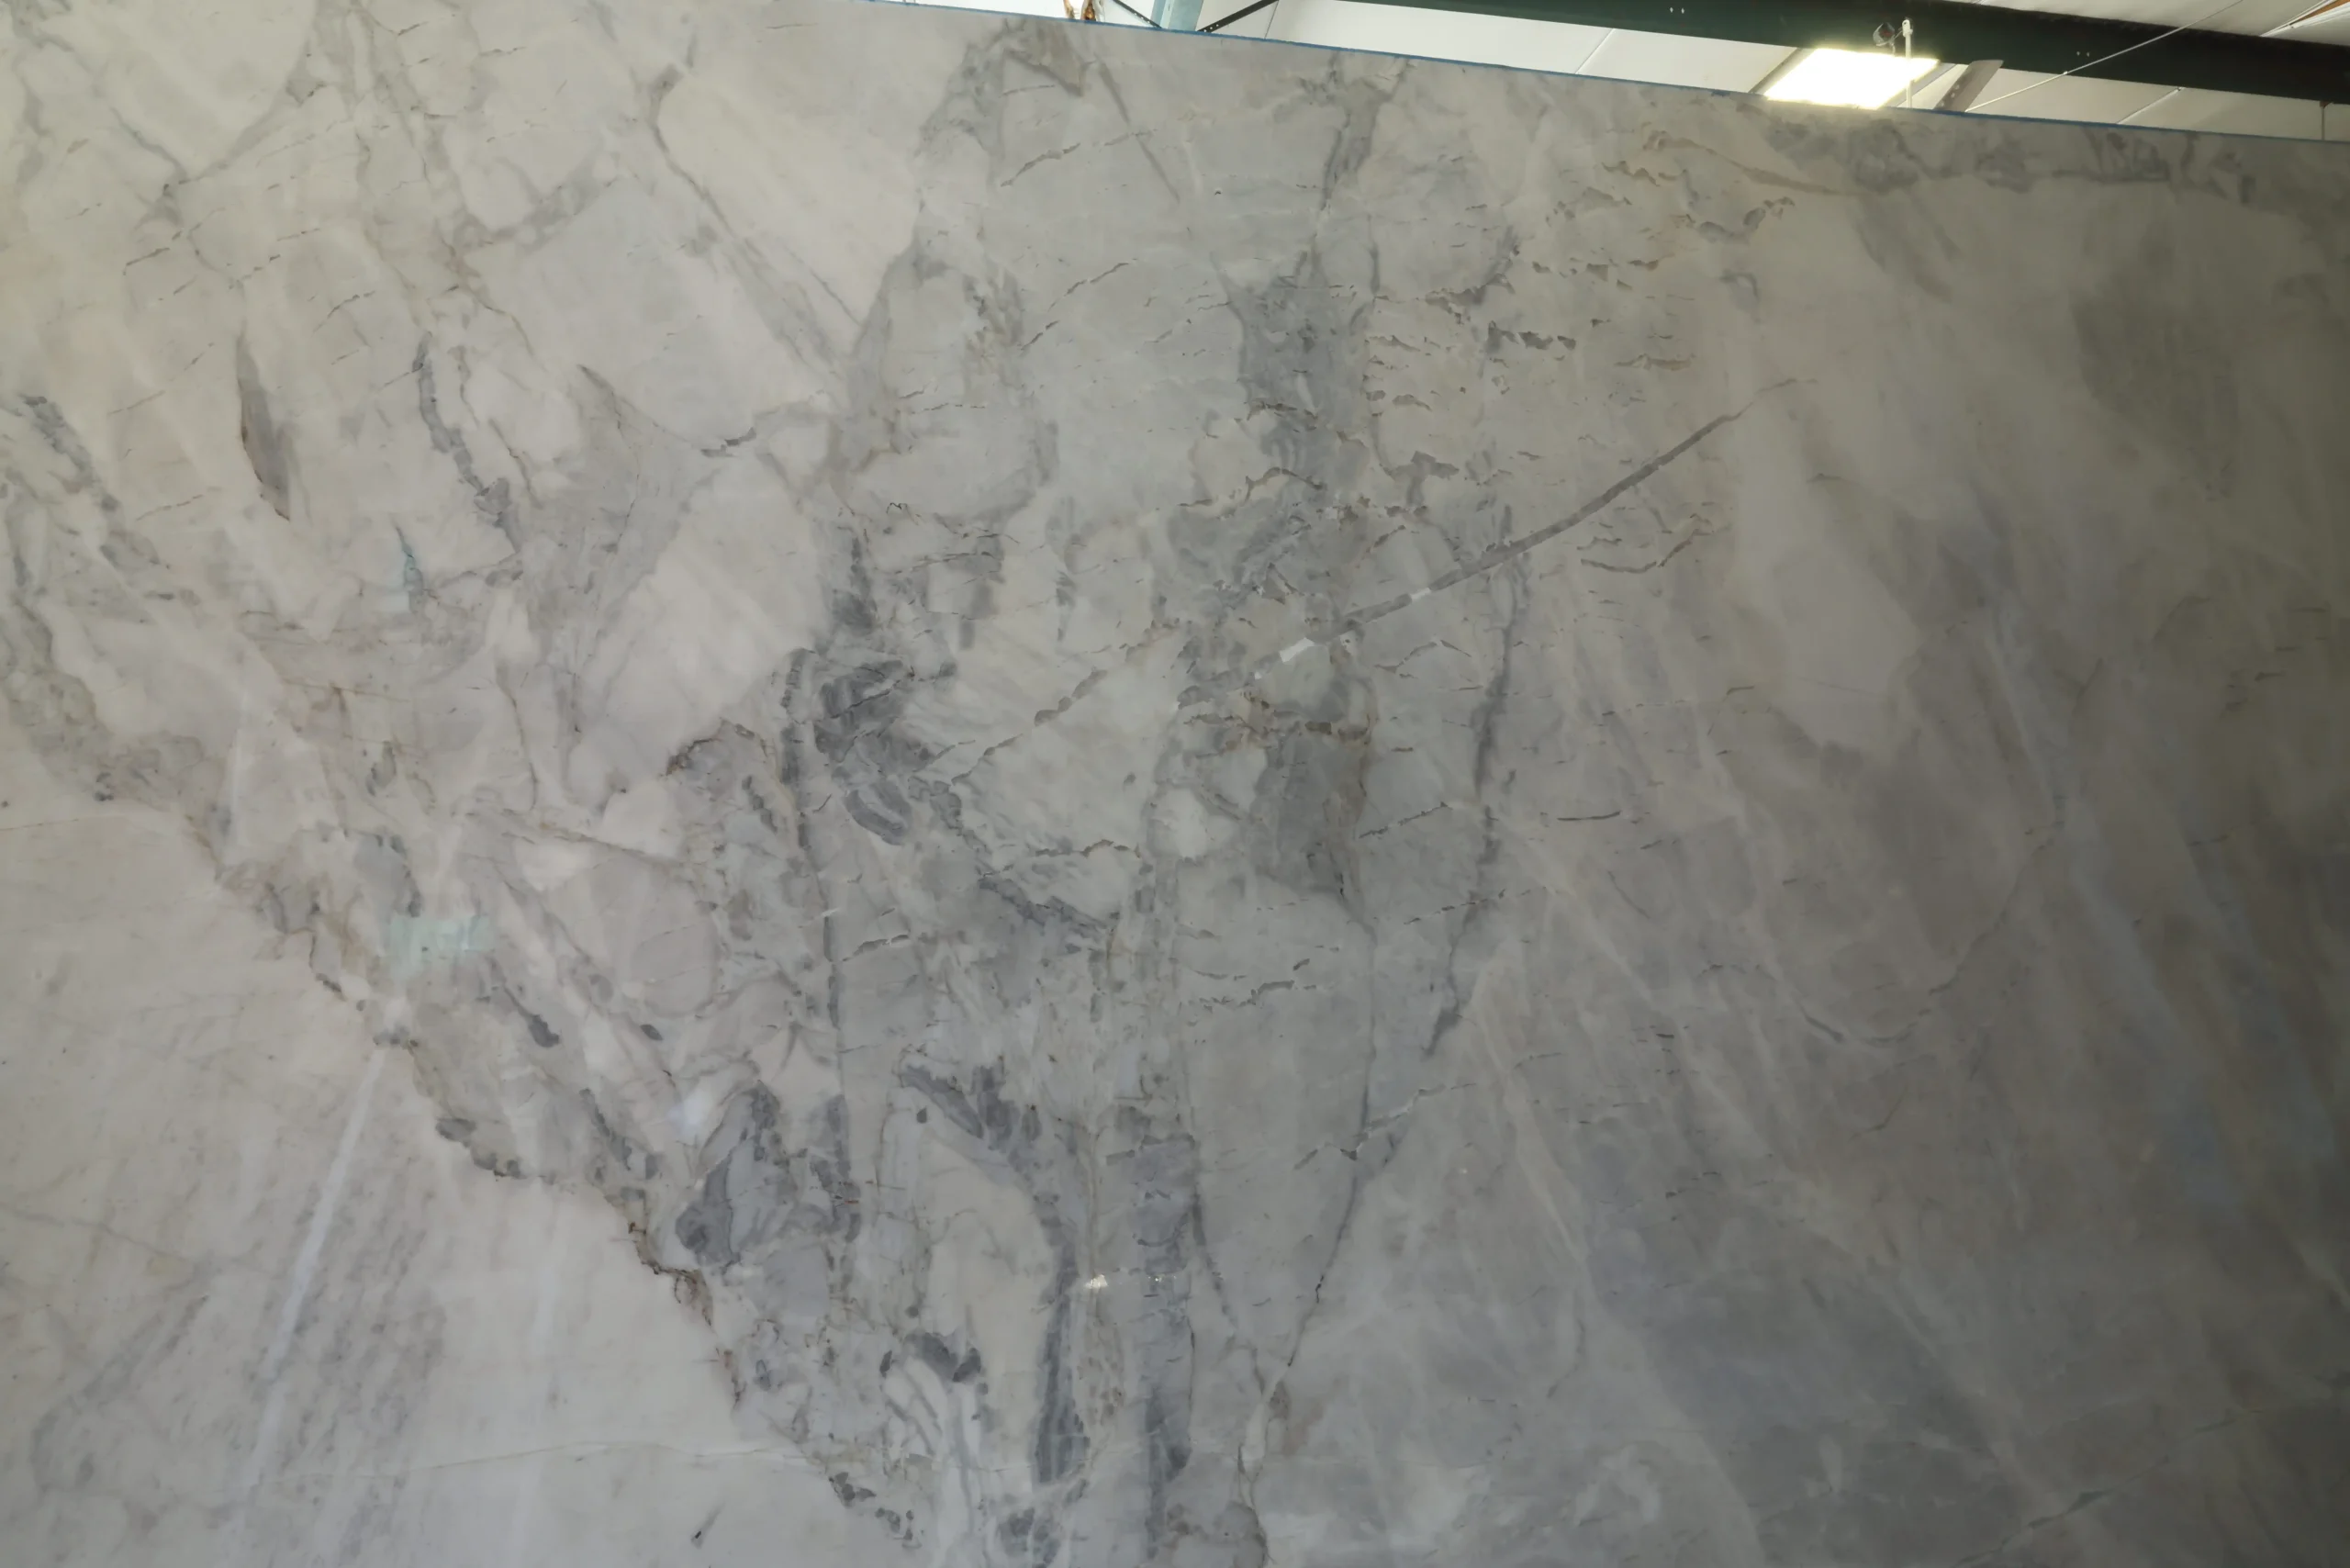
That starts with the stone itself. Marble, quartzite and granite behave very differently around spills, and you can compare them side by side among the natural stone slabs in our showroom.
Five kinds of mark and where each one starts
| Mark | What it looks like | Usual sources | Habit that prevents it |
|---|---|---|---|
| Oil-based stain | Darkens the stone | Cooking oil, butter, milk, cosmetics | Bottles on a tray; wipe splatter after cooking |
| Organic stain | Pinkish-brown; may fade once the source is gone | Coffee, tea, wine, fruit, food | Coasters, a tray at the coffee station, blot at once |
| Metal stain | Orange to brown for rust, green or muddy brown for copper and bronze, in the shape of the object | Cans, metal containers, cast iron left damp | Nothing metal left standing on wet stone |
| Water spots and rings | Whitish rings from hard water | Faucet base, glasses, vases | Dry around the faucet; coasters |
| Etch (not a stain) | Dull or lighter patch | Lemon, vinegar, wine, tomato, acidic cleaners | Boards for prep; a neutral stone cleaner |
The descriptions follow the Natural Stone Institute’s care and cleaning guide for natural stone, which also explains how each type is removed. Metal is the stain to fear most: the guide warns that deep-seated rust stains are extremely difficult to remove and can leave the stone permanently marked.
A zone-by-zone prevention checklist
Stains rarely come from one dramatic spill. They build up where the same thing lands every day, so the prevention that works best is a short list of habits tied to places in the kitchen and bath.
- Sink: soap and lotion bottles on a small tray, the base of the faucet dried at night, no damp sponge or steel pad left on the stone.
- Range: oil and vinegar bottles on a tray, splatter wiped while the pan cools, a trivet under hot pots.
- Prep area: a big cutting board. A Charleston stone restorer quoted by the institute suggests boards of about 20 by 20 inches, one next to the sink and one next to the stove.
- Coffee or bar station: a tray under the machine and the bottles, and coasters for glasses, above all for citrus drinks and wine.
- Vanity: cosmetics and perfume on a tray, and shaving cans kept off wet stone.
- Island seats: placemats for juice, sauces and kids’ plates.
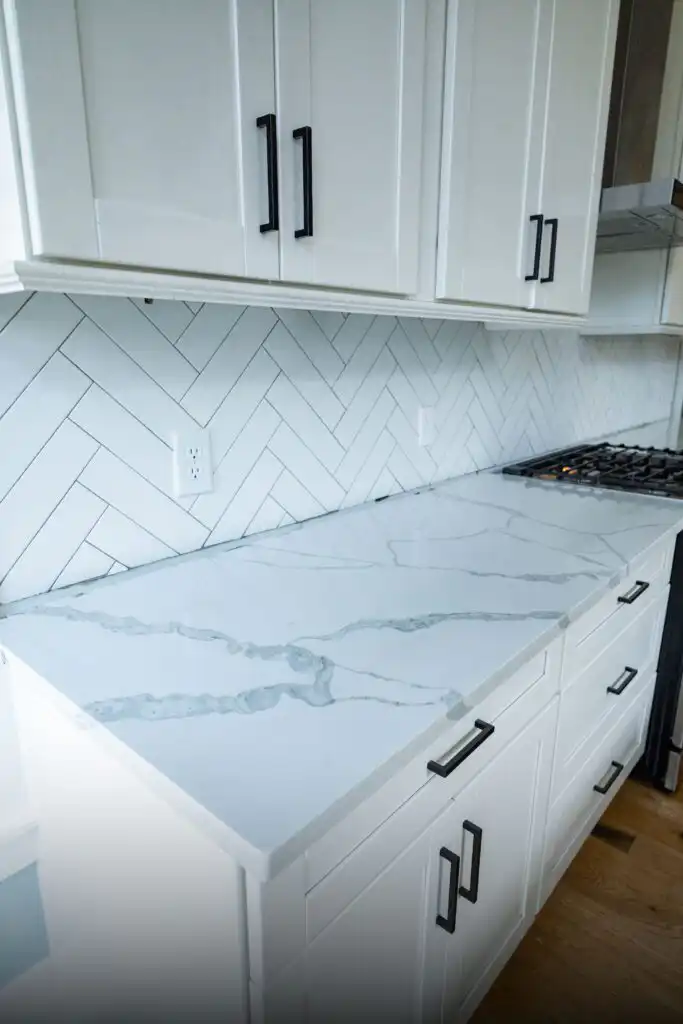
This is part of the main run in our Moncks Corner kitchen project: a white stone with strong gray veining. Look for the plainest stretches of white: a dark oil spot would show there first, and on this run one of them sits right beside the cooktop.
When you plan a marble kitchen, mark those plain stretches near the range and the sink on the layout, and give them the tray, the board and the habit from day one.
Blot, flush, dry: the first minute after a spill
- Blot with a paper towel right away. Do not wipe, which spreads the spill.
- Flush the spot with water and a little mild soap.
- Rinse several times.
- Dry with a soft cloth, and repeat if the spot still looks wet or dark.
Those are the institute’s steps. Speed matters most with red wine. A restorer interviewed for its marble countertop care article says wine wiped up immediately almost never stains, though its acid may still etch; left in place, it will stain.
Sealing: a safety margin, not a shield
The products sold as stone sealers are impregnators. The institute explains that they soak in and act as a repellent, which makes the stone more stain resistant without making it stain proof. In practice, a current sealer buys you time to blot before a spill sinks in.
To see whether yours is still working, put a few drops of water on the counter and let them sit. If a dark spot appears, the marble is soaking water in and needs a fresh coat.
How often that happens depends on the product and the slab, and our sealing guide for marble, quartzite and granite walks through the test, the application and the timing.
Cleaners that keep the surface intact
- Use: a neutral cleaner, a stone soap, or a mild dishwashing liquid in warm water, then rinse and dry with a soft cloth.
- Avoid: anything with lemon, vinegar or other acids, which etch; scouring powders and creams, which can scratch; and rust removers, since many contain traces of hydrofluoric acid, which attacks every stone, granite and quartzite included.
- Never mix ammonia and bleach. The combination creates a toxic gas.
Read labels with one rule from the restorer quoted earlier: if a product asks you to test it on a hidden spot first, choose another one. Plenty of cleaners are made for stone and need no test.
Choosing a marble that is easier to keep clean
Some of the work happens before the stone is cut. A honed surface hides etch marks better than a polished one, and our comparison of honed and polished marble finishes shows the trade. Busy gray veining also disguises a faint mark better than a plain white field.
Placement matters as well. Marble does its easiest work at a baking station, a vanity or a fireplace, where acids and oil are rare.
In a kitchen, some homeowners keep marble on the island and use a harder stone on the perimeter where daily prep happens, an approach covered in our guide to pairing two stones in one kitchen. Not sure marble is right for your kitchen? Weigh what marble asks of you day to day first.
Signs it is time to call a stone restoration professional
- A dark mark that comes back after you clean it.
- Any rust stain, which the institute warns can become permanent.
- An etch you can feel with a fingertip, not just see at an angle.
- Dullness spreading across the whole prep area or around the sink.
Restoration specialists refinish marble by removing a very thin layer, and the restorers quoted by the institute say it can be done many times over the life of the stone. For a counter that has not been cut yet, the best prevention is choosing well: come and see marble beside quartzite and granite in our showroom before you decide.