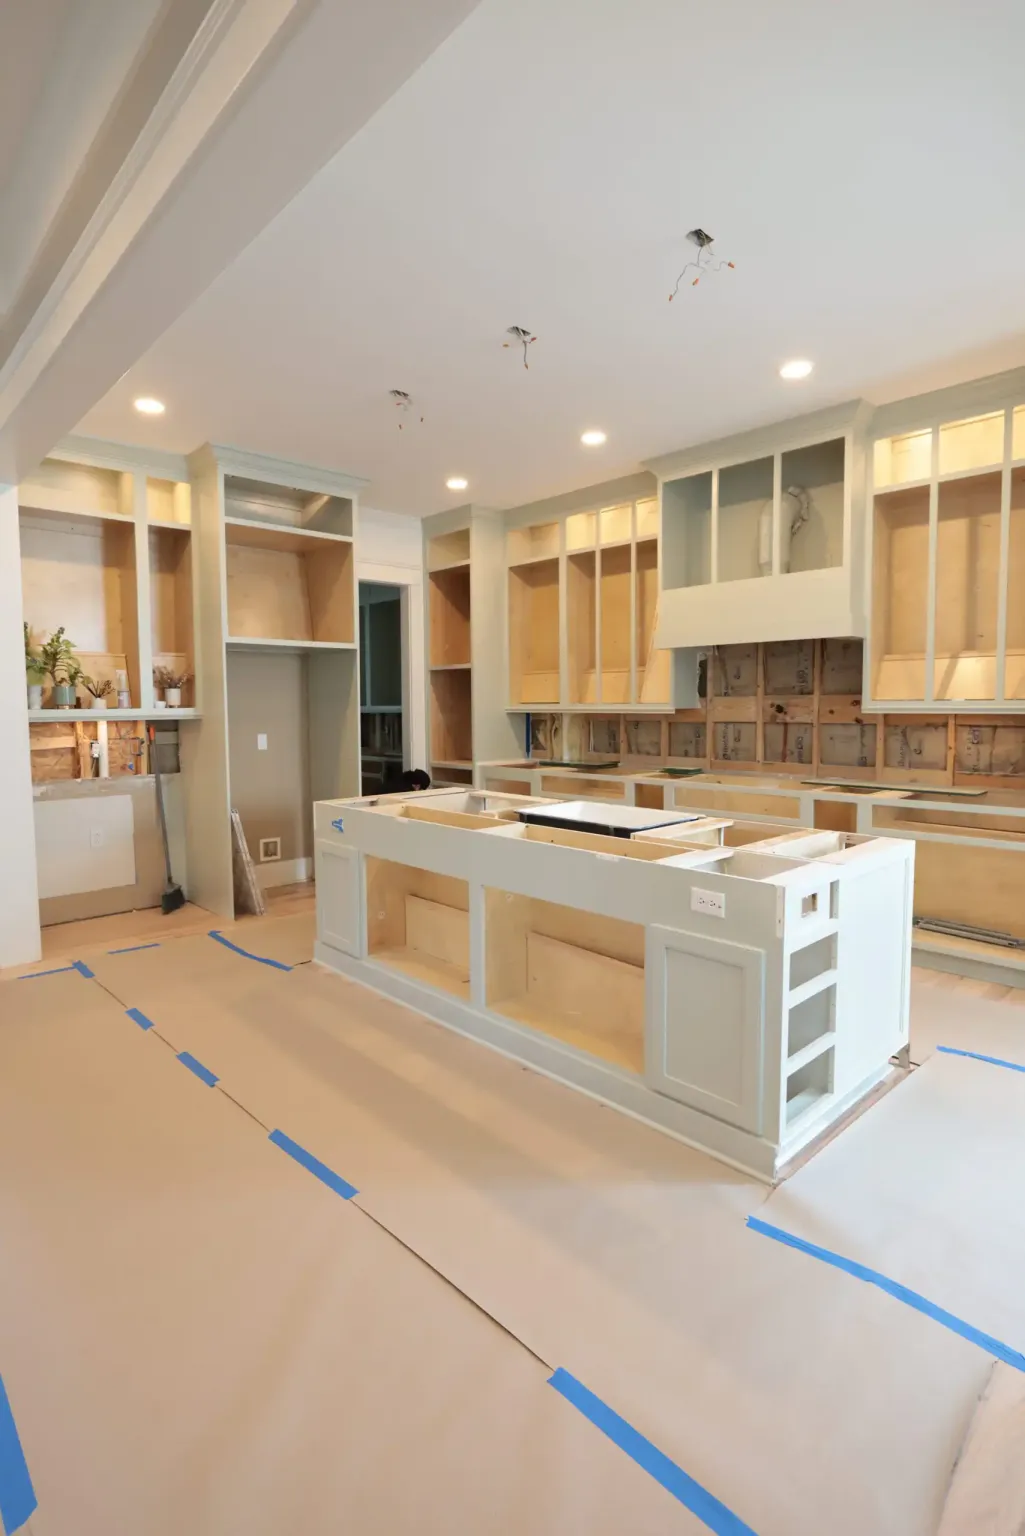
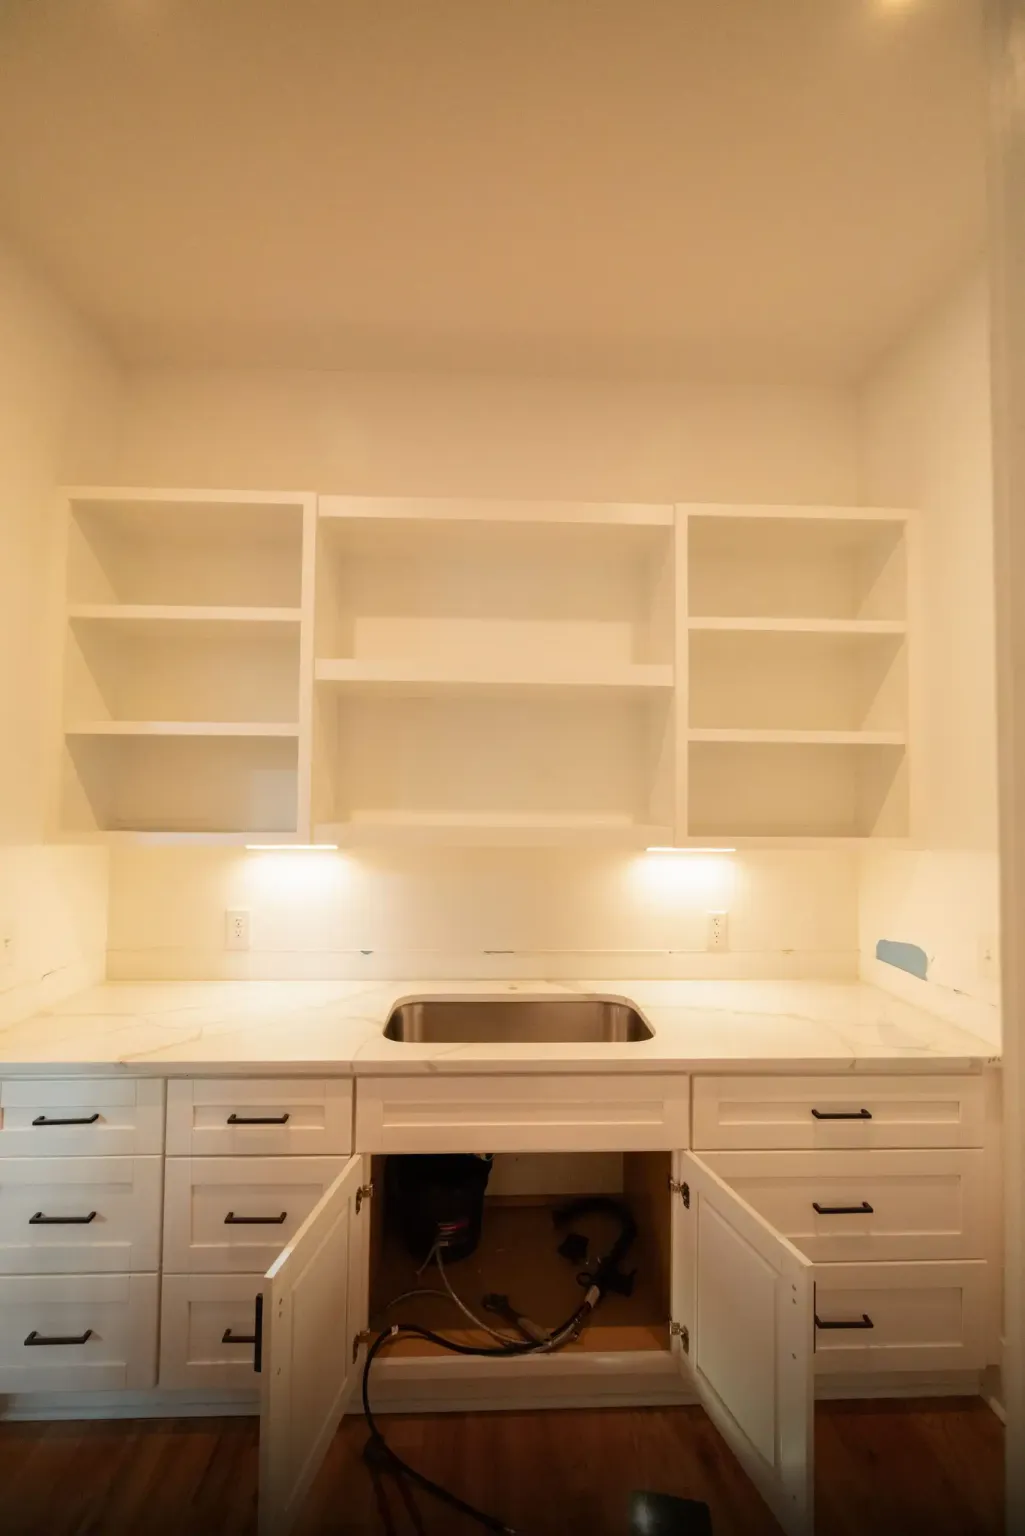
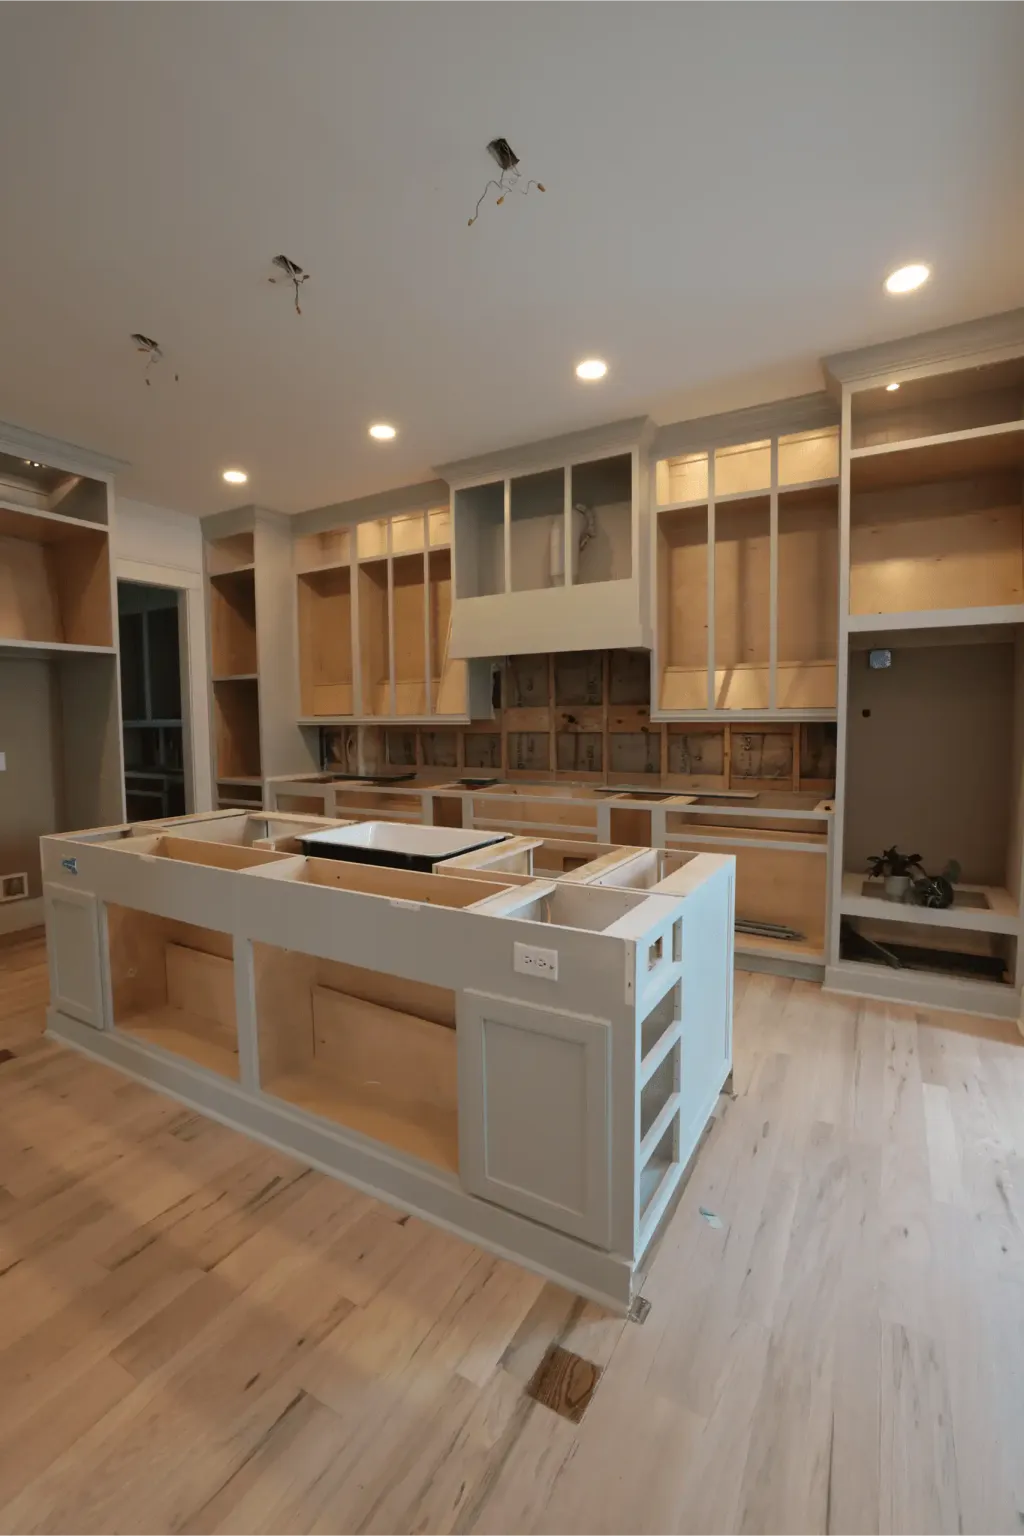
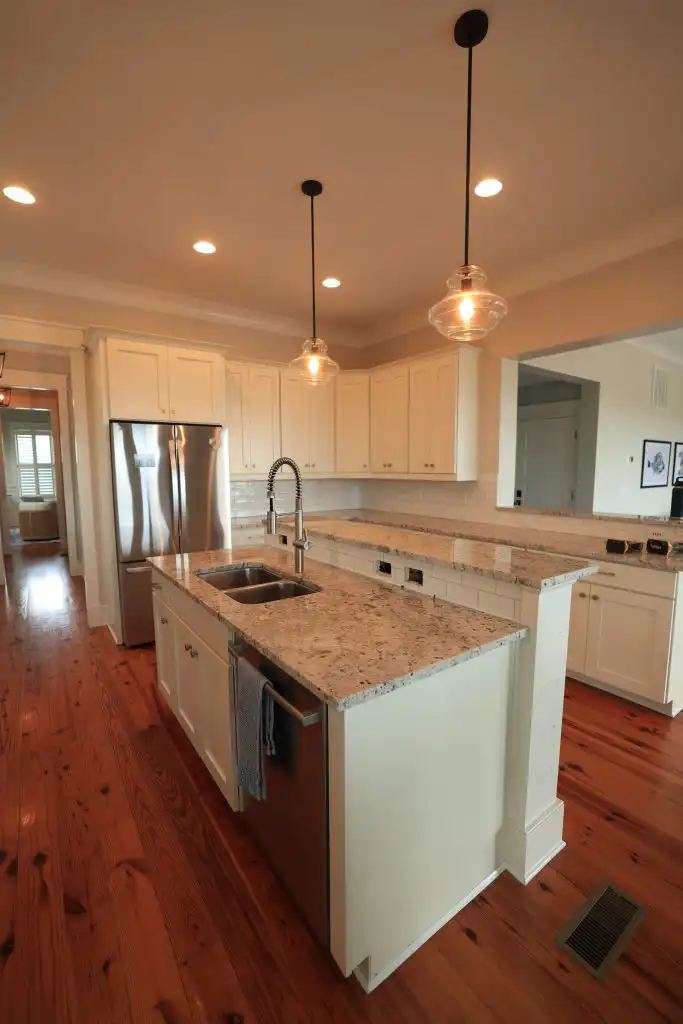
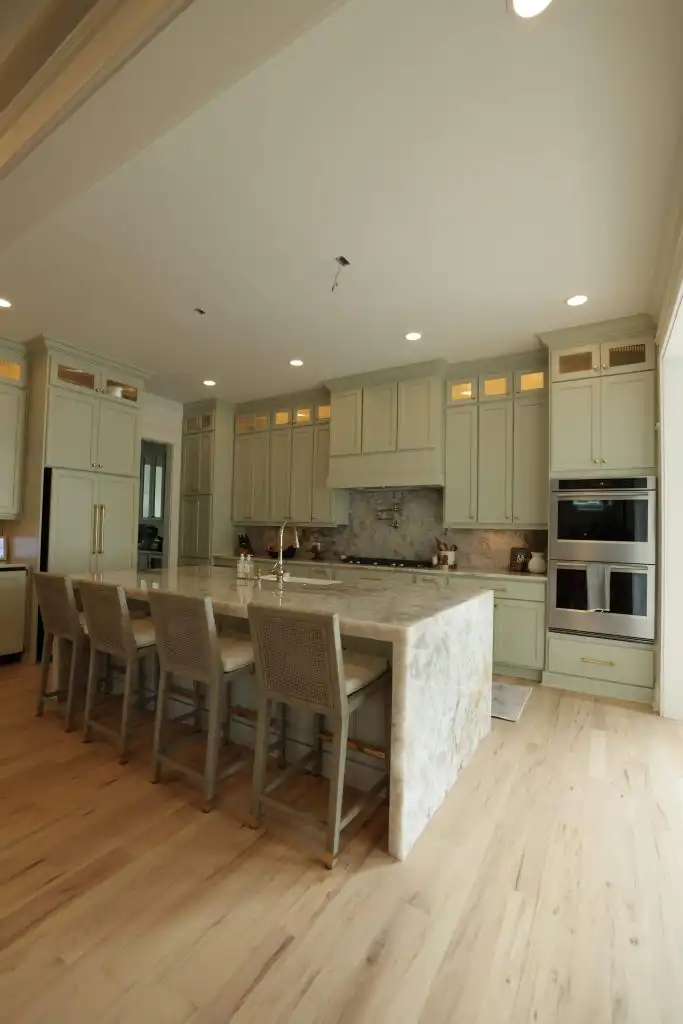
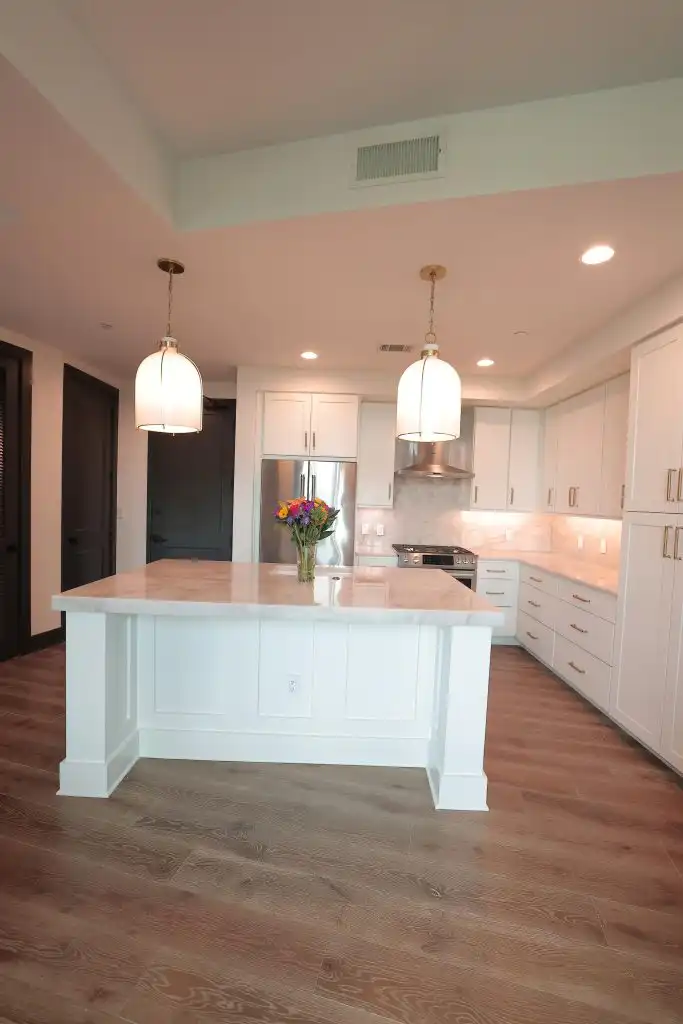
A mitered edge countertop has a front edge made from two pieces of the same stone, each cut at 45 degrees and glued into a 90-degree corner.
Because the joint sits on the corner, a 3 cm slab can read as a 2-inch or deeper block, with the pattern folding over the edge.
Why it matters now, before anything is cut: the drop hangs lower than a standard edge, so it has to be planned with the cabinets, drawers and appliances, not added at the end. Most mitered-edge problems are decided at templating, not at installation.
The short version, before the detail:
- It looks like a thick block of stone but is a 2 or 3 cm slab with a second strip glued on at 45 degrees.
- The strip hangs below the top, so drawers, pulls and the dishwasher door have to clear it.
- The strip should come from the same slab, right beside the edge, so the veins carry over the corner.
- A slightly softened corner chips less than a razor-sharp one.
How the 45-degree joint is made
Caesarstone’s Fabrication & Installation Guide (August 2023 edition) lays out the method. The fabricator cuts a strip whose width equals the edge height you want, and cuts it and the top at 45 degrees.
Adhesive goes evenly through the joint, a clamp holds a true 90 degrees, and the corner is polished to a radius or a small bevel.
The guide also says why the miter exists: the height of the edge is independent of the slab thickness, and the pattern can continue around the corner. The vertical face needs no polishing, because what you see is the slab’s own factory-polished surface.
Mitered vs. eased and laminated edges
An eased edge is the plain slab thickness with its sharp corners lightly softened; on a 3 cm top, that is about 1.2 inches of stone. A laminated, or built-up, edge glues a strip flat under the front of the top, so its glue line runs across the face.
That is why Caesarstone names the miter as the preferred method when you want a longer edge skirt.
The miter moves the joint to the corner, where a matched adhesive and a rounded arris hide it. If you are still choosing among shapes such as ogee, bullnose or bevel, our guide to countertop edge profiles compares them; this article stays with the miter itself.
Seven mistakes that spoil a mitered edge, and how to avoid each
1. Picking the drop height after the cabinets are set
In plain terms: a 2-inch drop on a 3 cm top hangs about 0.8 inch (roughly 13/16) below the top of the cabinet box. That apron now sits in front of the top drawer fronts, the door tops and the dishwasher door.
With the usual overhang of about 1½ inches past the cabinet face, the figure Caesarstone gives for quartz, there is only around 0.3 inch (about 5/16) of air behind a 3 cm apron.
The fix: choose the drop with the cabinet drawings open. Check where each top drawer front ends, which pulls sit near the top edge, and how the dishwasher door swings.
Whirlpool’s undercounter dishwasher instructions measure the 34-inch opening from the lowest point under the countertop; the apron in front is a separate check, because the door has to swing out past it.
2. Raising the counter without telling the rest of the trades
One way to clear drawers is to lift the top on a build-up so the apron ends at the cabinet line. On a 34½-inch base cabinet, the standard box height in CNC Cabinetry’s 2025 spec book, a 3 cm top with a 2-inch drop raised that way finishes at about 36½ inches.
Appliance specialists in the YouTube video “Milled vs Mitered Countertops” (Appliance Advisers) point out that ranges and hood clearances are usually planned around a 36-inch counter.
A raised island can also end up above the counter it faces. Before you choose this route, tell the cabinet installer, the appliance supplier and whoever sets the hood.
3. Cutting the strip from wherever there is room
The strip should come from the slab right beside the edge it will sit under. Caesarstone asks for lamination strips from the same slab and, where possible, from the same saw cut, and, on patterned surfaces, a cut at the planned miter line so the design carries on.
With veined natural stone this is the whole point of the miter. A strip taken from the far end of the slab will not line up, and the break shows at eye level on an island.
4. Accepting a glue line you can see
The joint is glued, so its color matters. Caesarstone lists color-matched adhesives for its range and still warns that the shade may need adjusting between batches and can dry slightly lighter. With natural stone there is no chart, so the fabricator tints the adhesive to that slab.
A miter clamp that holds a true 90 degrees closes the joint and keeps adhesive from squeezing to the face. If you are comparing shops for countertops in Charleston, SC, ask each one to show you a finished mitered corner in the same stone family.
5. Asking for a razor-sharp corner
Caesarstone is direct about chipping. An angle below 45 degrees leaves a thin wedge at the tip that is prone to break, and a joint in the middle of a small radius or bevel is easier to chip, so it recommends a larger radius. The trade-off: the bigger the radius, the more adhesive is visible.
Where people lean, bump pans or push stools, a softened corner is the practical choice. Save the crispest look for places hands rarely reach.
6. Treating every stone the same
Caesarstone, for one, publishes fabrication rules and adhesive charts for its own colors. Natural stone has no factory chart, and each slab is different.
For Taj Mahal, Mont Blanc or any strongly veined stone, ask how the shop will lay out the strips on your slab and how it handles that particular stone at a 45-degree cut.
7. Forgetting the seams and the hidden edges
Caesarstone has strip joins line up with the countertop seams, so plan the miter and the seam placement together. Then decide which edges get it at all. A deep edge under wall cabinets may barely register, while the island’s seating side and exposed ends carry the look.
A miter that turns down the side to the floor is a waterfall, with its own support and cost questions; our notes on the waterfall edge weigh them. For panels that reach the floor, Caesarstone suggests a 5 mm by 5 mm shadow line joint, which tolerates cabinet movement.
A 3 cm island with a 2-inch drop, worked through
Here is one island planned on paper with published numbers: a quartz top 108 inches long and 42 inches deep, on 34½-inch cabinets, with a 2-inch mitered drop on all four sides.
| Question | Number | Source |
|---|---|---|
| Slab thickness | 30 mm, about 1.2 in | Caesarstone guide |
| Strip width for a 2 in edge | 2 in (strip width equals edge height) | Caesarstone guide |
| Countertop surface height | 34.5 + 1.2 = about 35.7 in | CNC Cabinetry 2025; Caesarstone |
| Bottom of the apron | About 33.7 in from the floor, 0.8 in below the cabinet top | Calculated |
| Space behind the apron with a 1½ in overhang | About 0.3 in | Calculated |
| Length of mitered edge | 108 + 108 + 42 + 42 = 300 in, or 25 linear feet | Calculated |
| Area needed to keep the pattern wrapping | 112 × 46 in (top plus a strip on every side), plus saw cuts | Calculated |
| Standard quartz slab | 120 × 56½ in, usable area slightly smaller at the beveled perimeter | Caesarstone guide |
Reading the result: the whole island, strips included, fits on one standard slab with the pattern wrapping every edge. Lengthen the island to 118 inches and it no longer does, because 118 plus two 2-inch strips is 122 inches.
The end strips would then come from another part of the slab, or from a second slab, and the pattern would break at the corners.
Natural stone changes the math. The Natural Stone Institute describes a typical granite slab as about 9 by 5 feet, and sizes vary by stone, so measure the slab you actually choose. If the island has drawers or a dishwasher, mistake 1 applies: the apron sits about 0.8 inch below the box, so check every front before templating.
Choosing the drop height
“1.5 inch or 2 inch mitered edge?” is a question homeowners have asked on Houzz. The honest answer depends on proportion and clearance more than on fashion.
A drop close to the slab thickness changes little. Around 2 inches gives a clear, solid look on a 3 cm top. Deeper drops suit large islands and pieces read from across an open room.
Two checks keep the choice grounded. Hold a sample strip against the cabinet drawings to see what it covers. Then sit on the stool you plan to use: a deeper apron takes space above your knees on the seating side.
If you are debating a 2 cm or 3 cm slab under the miter, settle that first, since every height in the table above moves with it.
Two terms that confuse the search
What is the standard countertop edge?
There is no single standard. The basic edge many shops list is the eased edge, a square edge with its sharp corners softened. Caesarstone notes that the most common details are a radius or a 45-degree bevel, and it advises against a dead-square edge because impact can chip it.
What does right miter mean?
This term comes from prefabricated laminate counters. VT Industries’ laminate FAQ explains that sections come as left or right miters, named for the direction of the 45-degree cut, and that an L-shaped corner needs one of each. It names a corner joint between two pieces, not the mitered front edge on a stone top.
What drives the price of a mitered edge
We do not publish prices, because they change with the slab and the job. What moves the quote is easy to list:
- the total length of mitered edge, counted in linear feet as in the example;
- the drop height, and whether strips must come from specific spots on the slab for pattern continuity;
- whether the job needs a second slab because the strips do not fit;
- the stone you choose and how it behaves under the saw and polisher;
- outside corners, returns and ends, each of which is its own joint;
- any waterfall panel, build-up or extra support.
Questions to settle before templating
- What drop height, measured on the finished edge?
- Which edges are mitered: front only, ends, the seating side, the back of the island?
- Do the top drawer fronts, pulls and dishwasher door clear the apron, or will the top be raised?
- If it is raised, what is the final counter height, and have the appliance and hood plans been updated?
- Where on the slab do the strips come from, and can you see the layout?
- What corner radius, and how will the adhesive be colored?
- Where do the seams fall, and do the strip joins line up with them?
Bring the answers, along with the appliance model numbers, to the templating appointment. In our process, the edge profile and finish are set at that visit, and the cutting and polishing happen in our own shop afterward.
If you are planning an island with a thicker-looking edge, start with the stone. See what we offer for countertops in Charleston, SC, then visit our North Charleston showroom to choose the full slab with a specialist, so the edge strips and the veining can be planned on the stone you will live with.
About the sources: Caesarstone’s Fabrication & Installation Guide (August 2023), CNC Cabinetry (2025), Whirlpool, VT Industries and the Natural Stone Institute; the worked example is our arithmetic. This article was prepared by the Stonhaus Design team, and we do not publish prices because they change with the slab and the job.