The mistake to avoid with an undermount sink in a granite countertop happens before any stone is cut: choosing the sink late. An undermount sink hangs beneath the stone, and the fabricator cuts and polishes the opening to fit that exact sink. So the sink has to be chosen, and its model known, before the countertop is templated.
Get that right and the rest is a sequence of clear decisions. Below we walk through them in order, with photos of a pantry sink from our Moncks Corner kitchen project. The same steps apply to quartzite, marble and quartz.
Step 1: Choose the sink before templating
Fabricators need the exact make and model of the sink, faucet and nearby appliances before they template. The Natural Stone Institute lists this as a pre-installation requirement in its guide to what to expect with stone countertops.
The cutout is made to fit that sink, so a different sink later can mean a different hole. Our notes on what happens at templating cover the rest of that visit.
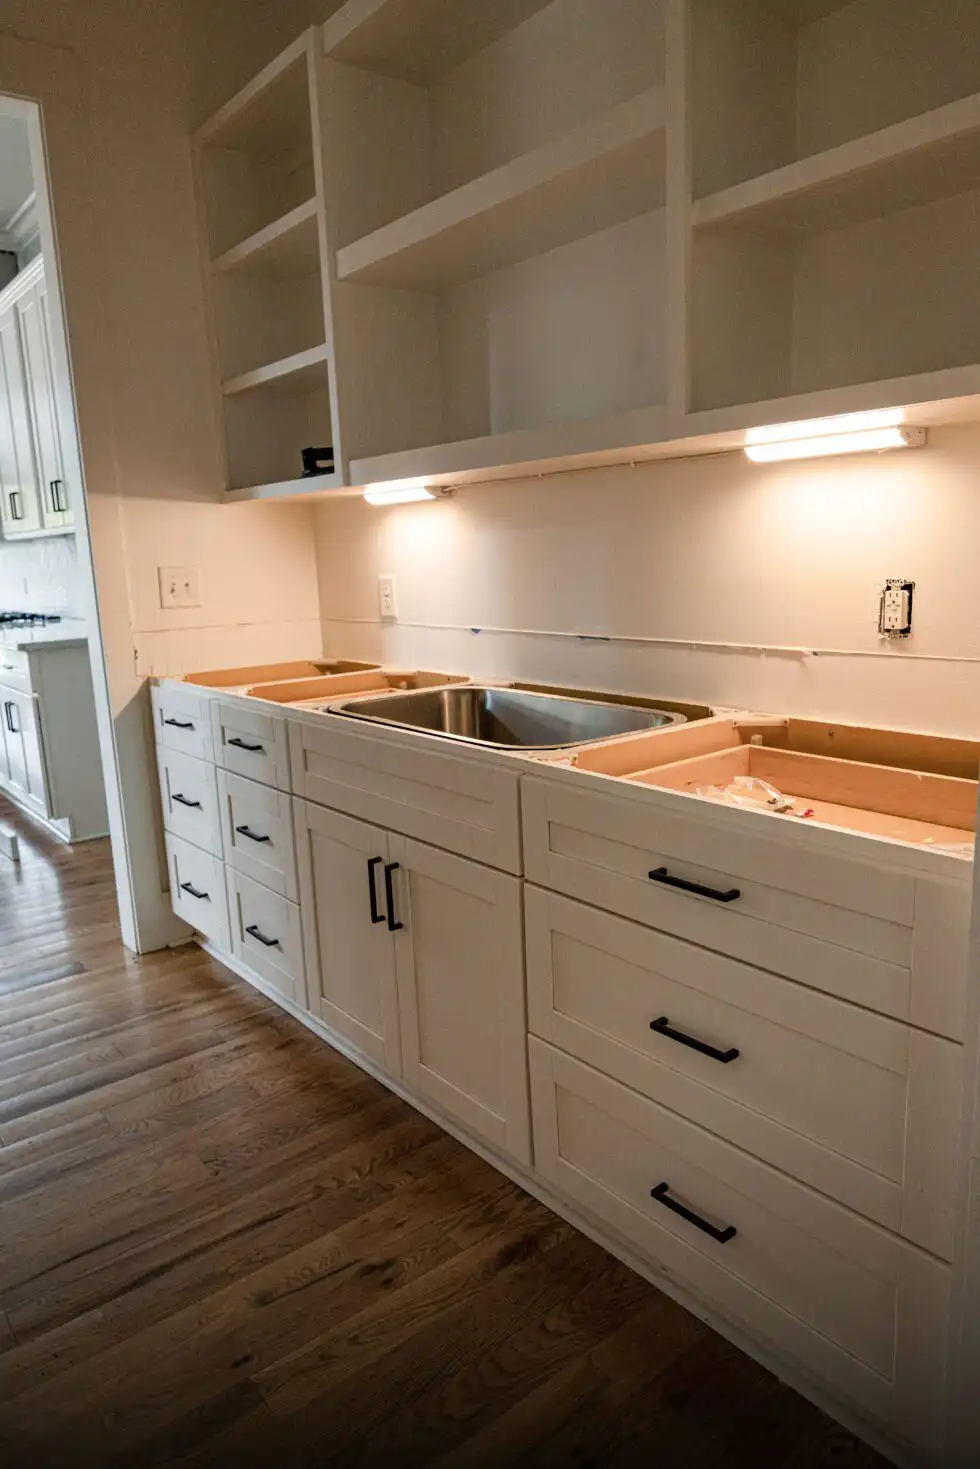
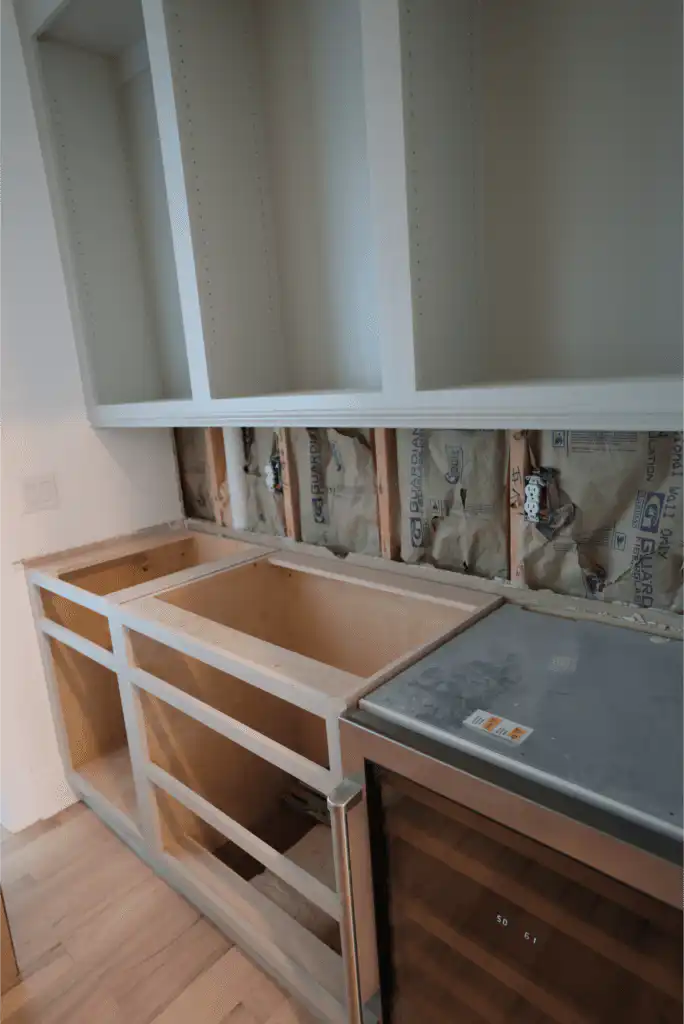
In the photo, from our Moncks Corner kitchen project, the stainless sink is already sitting in its base cabinet, and the cabinet tops are still bare. Having the actual sink on site at this stage lets everyone check that the bowl fits the cabinet and that the faucet holes will land where the plumbing expects them.
Decision point: sink material and size. Stainless steel, cast iron and solid-surface sinks can all be used under granite, according to the institute’s pros and cons of granite countertops. Pick a bowl that fits the base cabinet with room for the mounting hardware, and confirm the cabinet width on the sink’s spec sheet.
Step 2: Decide how much sink edge you want to see
Where the stone meets the sink, there are three looks, and your fabricator will ask which one you want. This is called the reveal.
- Positive reveal: the stone stops a little short, so a thin ledge of the sink rim shows.
- Negative reveal: the stone stops a little past the sink wall, so the polished stone edge overhangs the bowl and hides the rim.
- Flush (zero) reveal: stone and sink wall line up, which asks for a precise cut matched to the exact sink.
None of these is wrong. The choice is about how the edge looks from standing height and how you like to wipe it. If you can, look at a finished cutout in person before you decide.
Step 3: The cutout is cut, then polished, at the shop
Once templated, the cutout is made in the shop and its inside edge is polished, because with an undermount sink that edge is on display. The Natural Stone Institute describes it simply: fabricators cut and polish the sink hole to match the shape of your chosen sink.
That polished edge is also the most exposed part of the counter. The institute notes the edge of an undermount cutout is the most common place for a chip, for example from a heavy cast iron pan. Thickness helps here; our guide to granite countertop thickness explains why a 3 cm top leaves more stone around the opening.
Step 4: Setting the top and mounting the sink
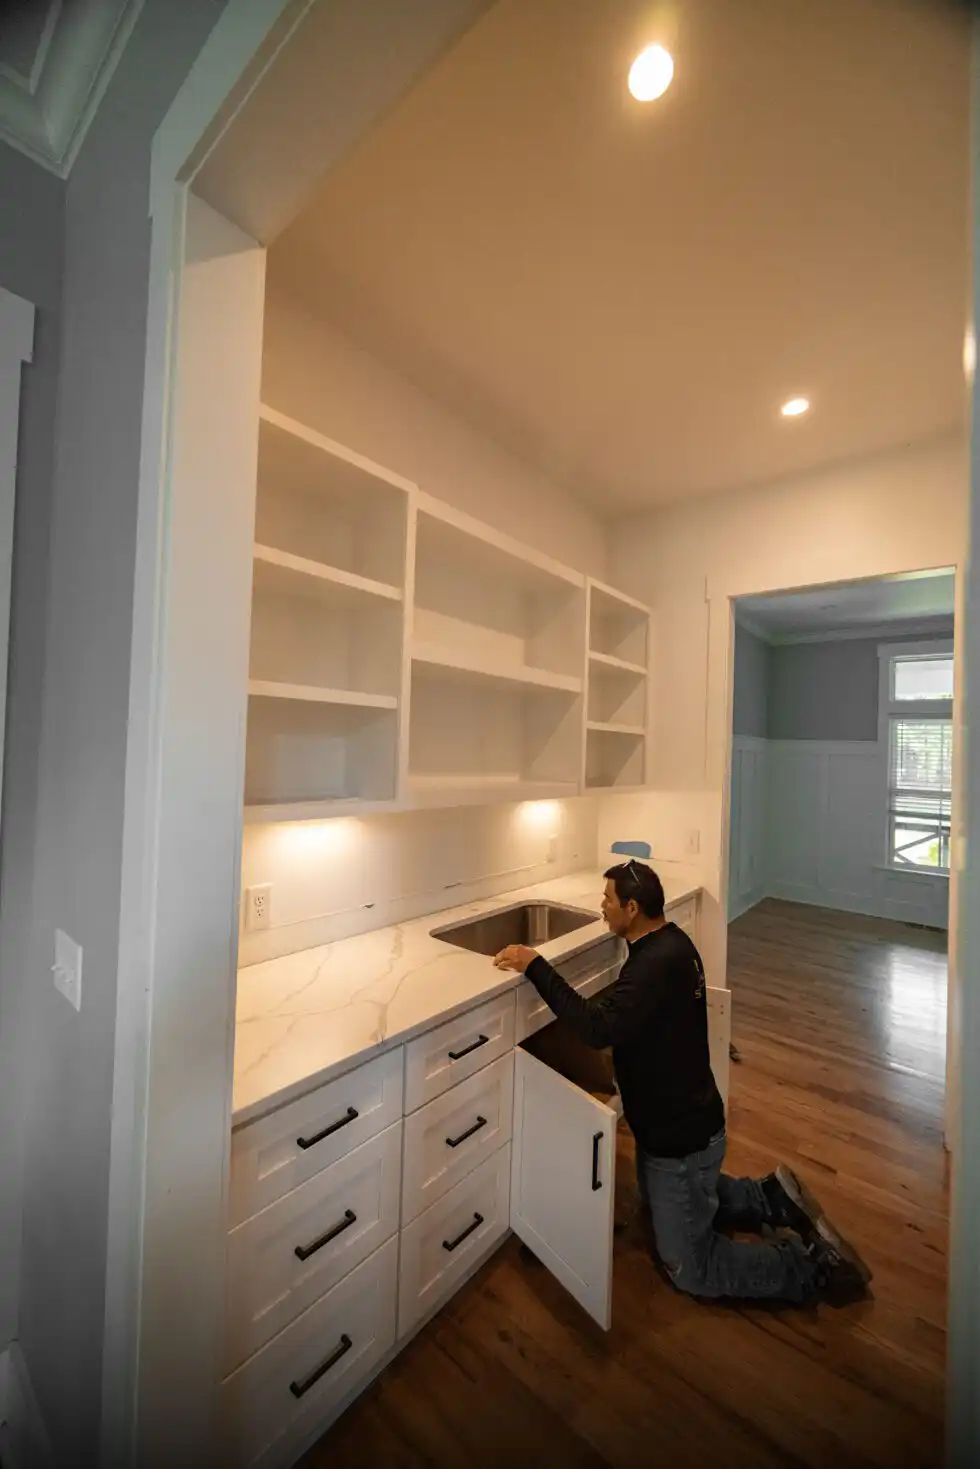
The top is set on level cabinets, and the sink is fixed to the underside of the stone, in the shop or on site.
Undermount sinks are held by mounting hardware, such as clips anchored to the stone or a support under the bowl, with a bead of silicone sealing the joint against water. The exact method comes from the sink’s installation sheet.
Decision point: ask which mounting method your installer uses, and how long it should cure before the plumber connects the drain and any disposer. The institute’s installation guide also notes that, once the countertop is in, the homeowner is typically responsible for scheduling the plumber to reconnect the sink, so plan that visit early.
Step 5: Plumbing hookup and a quick check
When the plumber reconnects, look under the sink with the doors open. The joint between stone and sink should be continuous all the way around, with no gaps in the sealant, and the reveal should look even from end to end.
Run water, fill the bowl, then check the underside again for drips. It takes two minutes, and it is much easier to fix anything now, while the installer and plumber are still close by, than after the cabinet is full.
Undermount or drop-in on a stone countertop?
The secondary question many people ask is whether to choose undermount at all. A drop-in sink sits on top of the counter, and its rim covers the cut edge of the hole. An undermount sink leaves the polished stone edge exposed and the deck clear.
| Undermount | Drop-in | |
|---|---|---|
| Cleaning the counter | Crumbs and spills wipe straight into the bowl | The rim catches crumbs at the edge |
| Look | Clean, continuous stone | Visible sink rim on the counter |
| Cutout edge | Polished and exposed; protect it from heavy pans | Hidden under the rim |
| Changing the sink later | Needs a sink that fits the existing polished opening | Usually simpler, as long as the new rim covers the hole |
Undermount sinks are common with stone for the reason in the first row: the Natural Stone Institute notes that they let crumbs and spills be wiped directly into the sink. Bathrooms follow the same logic; our notes on stone vanity tops with sinks cover the bathroom version.
Living with an undermount sink
Day to day, the exposed cutout edge is the part to look after: set heavy pots into the sink rather than dropping them in.
Also, do not let water stand around the faucet: stone care experts quoted by the Natural Stone Institute on caring for granite countertops warn it can calcify and turn white. A neutral stone cleaner handles both the deck and the edge.
Once in a while, open the cabinet and look up at the joint. If the sealant has pulled away anywhere, call the installer rather than adding more caulk from below, so they can check the mounting at the same time.
If you are planning a kitchen with an undermount sink, bring the sink’s spec sheet to our North Charleston showroom. Our team templates, cuts, finishes and installs the stone, and can talk through reveal options with you. Start with our page on Charleston stone countertops to plan your visit.