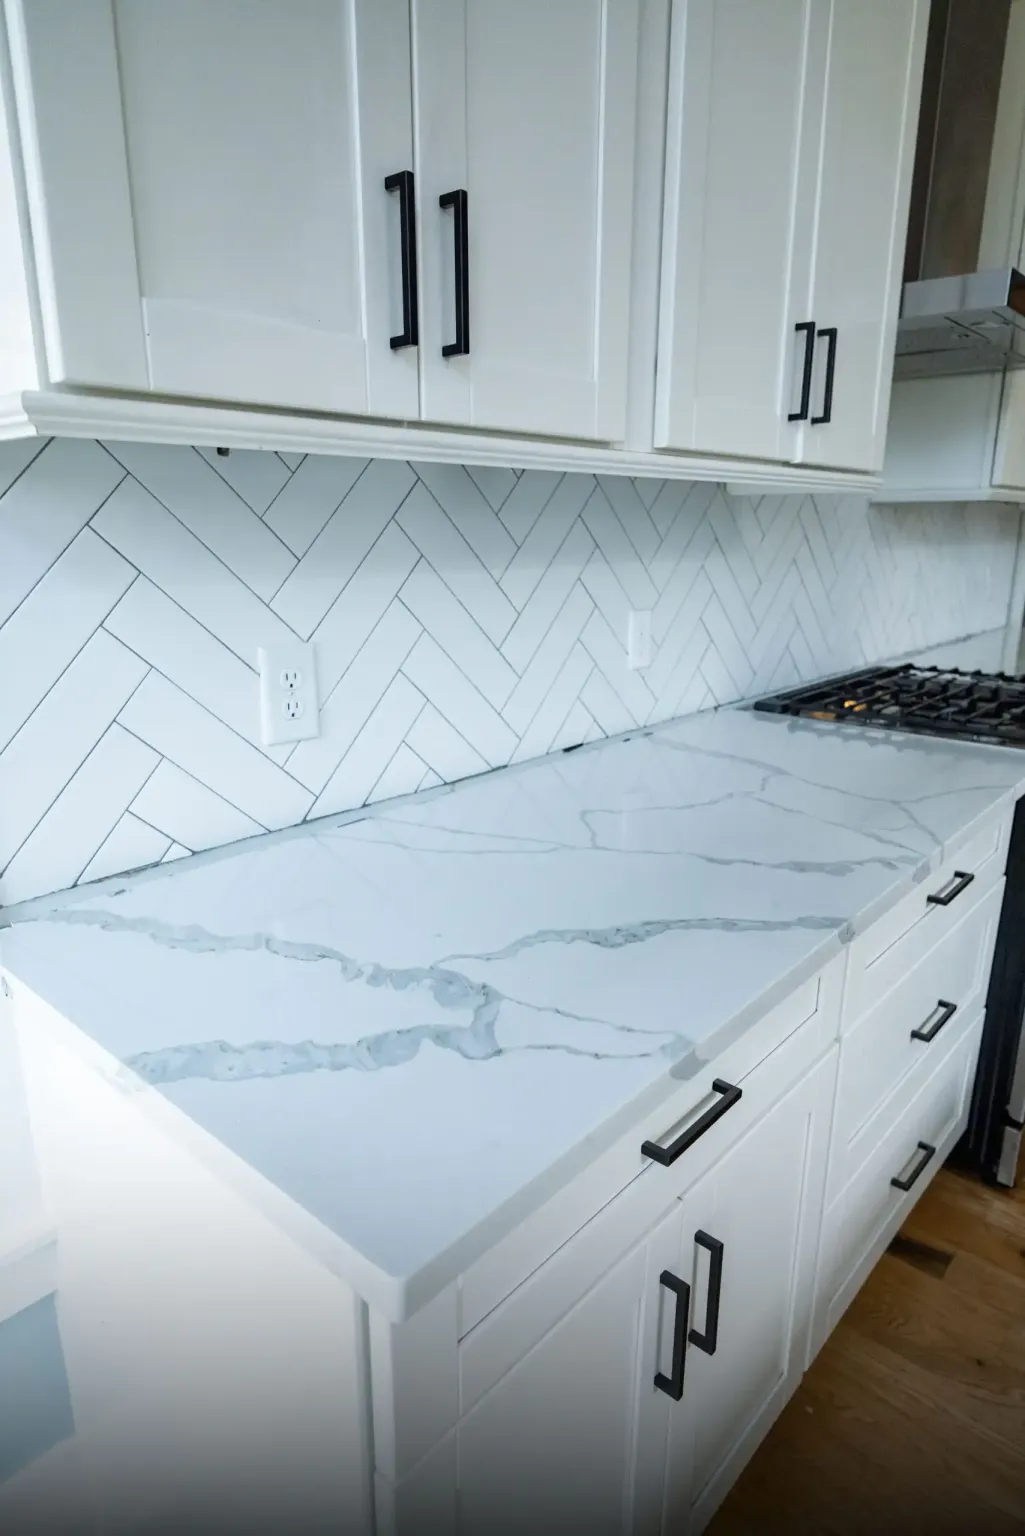
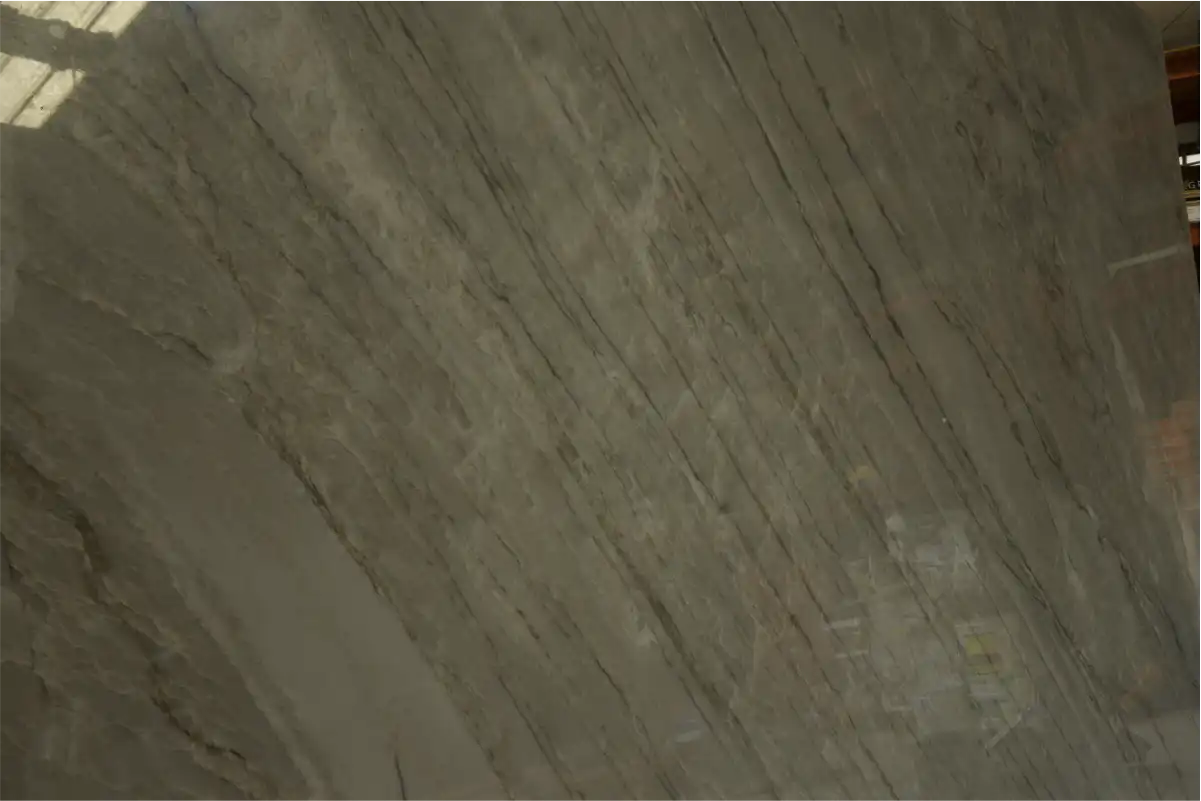
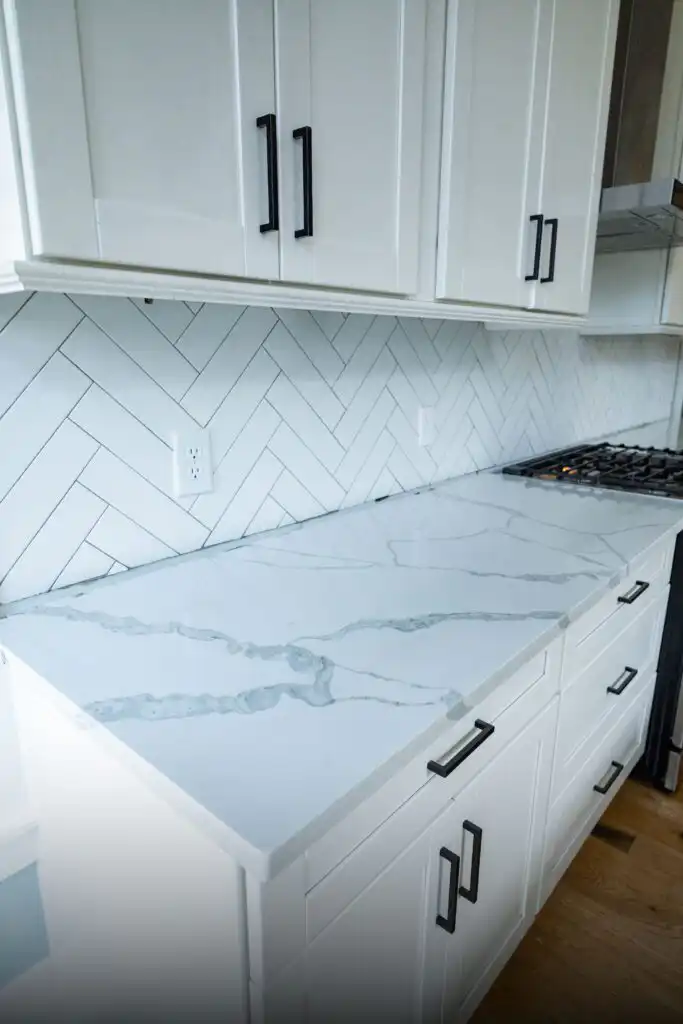
In our Sage Kitchen project, the plan called for more than a large central island: alongside the sage-green inset cabinetry there is a dedicated butler’s pantry zone with a built-in beverage cooler, in a kitchen designed to host. A counter in a zone like that is planned around its job.
That is the starting point for any butler’s pantry countertop: decide what happens on it first. For a bar or scullery that sees wine, citrus and dishwater, choose a low-porosity stone such as quartzite; for serving and staging, almost any stone works.
Then set the depth, the sink and the backsplash, and measure only after the cabinets are in. The seven decisions below follow that order.
Step 1: Decide what the pantry is for
A butler’s pantry is a working space between the kitchen and the dining or living area. Today it usually does one of four jobs, and each puts different demands on the counter:
- Serving and staging: platters, plates and dessert set out before they go to the table. The counter needs open length more than anything.
- Bar or beverage station: wine, cocktails, citrus, ice. The counter sees acids and sticky spills that can sit through a whole party before anyone wipes them.
- Coffee station: a machine, a grinder, mugs. Heat, drips and coffee rings in one small spot.
- Scullery or prep kitchen: a back room with a full sink, sometimes a dishwasher, where the messy work hides. It is the busiest version and needs the toughest top.
Write the main job on your plan before talking about stone. Most of the later choices follow from it.
A butler’s pantry does not always need its own room.
In our Moncks Corner Kitchen project, a pantry/wet bar sits in a niche beside the refrigerator: a base cabinet with drawers and doors, a stone top and open shelves above, shown below. It is the kind of compact station that handles serving and drinks without a separate room.
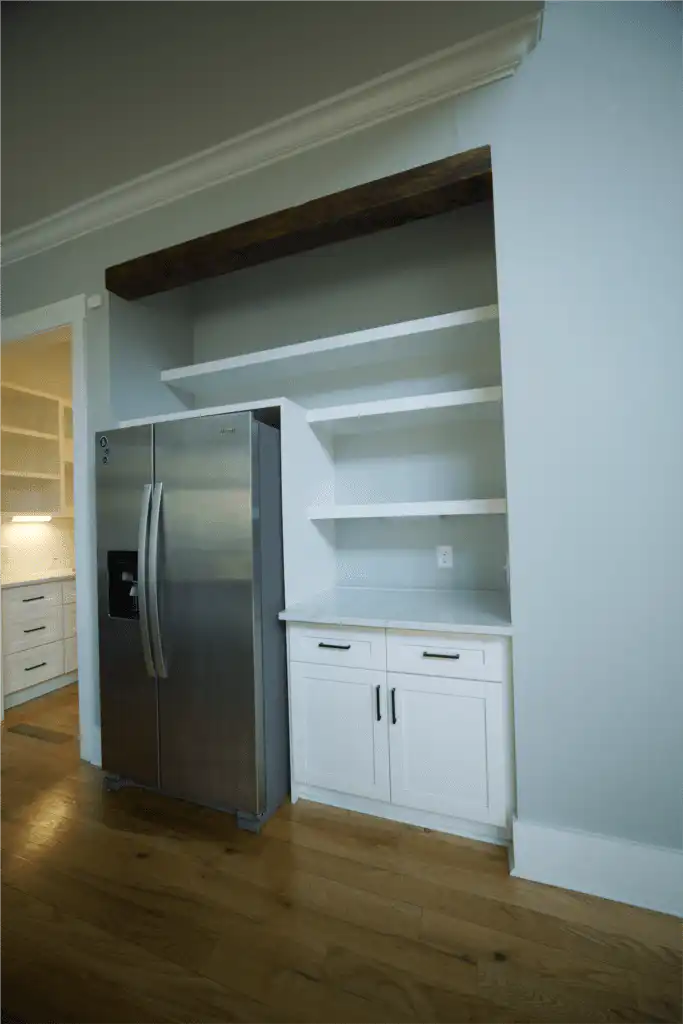
Moncks Corner Kitchen project: the pantry/wet bar beside the refrigerator, with another pantry area visible through the doorway on the left.
Step 2: Choose the stone for the spills it will see
Match the stone to the worst spill the pantry will see, not to the kitchen photo you saved. A serving pantry can take almost any stone. A bar with wine and lemon slices is where marble needs care: our own Calacatta listing notes that it is porous, needs regular sealing and calls for care with acidic foods.
Quartzites such as the Taj Mahal and Sea Pearl in our collection are listed with low porosity, very high scratch resistance and periodic sealing, which makes them a calmer choice for a bar or scullery.
If you love the look of marble in the pantry, plan for coasters, a tray under the bottles and quick wiping, and accept that the surface will gain a patina over time.
Step 3: Set the depth and height
The National Kitchen & Bath Association plans countertop space at 24 inches deep. Its accessibility guidance also suggests offering two work-counter heights, one between 28 and 36 inches and the other between 36 and 45 inches above the floor (NKBA Kitchen Planning Guidelines).
Most butler’s pantries use standard base cabinets, so the counter lands at the same height and depth as the kitchen.
Two exceptions are worth a conversation before cabinets are ordered. A narrow pass-through pantry can use shallower cabinets to keep the walkway clear, and a bar area sometimes steps up so guests can lean on it. Either choice changes the stone layout, so settle it early.
Walkway width matters as much as counter depth. NKBA recommends walkways at least 36 inches wide, and work aisles at least 42 inches for one cook and 48 inches when several people work at once. In a pass-through pantry where someone plates food while others walk by, the wider number is the safer target.
Step 4: Size the sink and the landing space around it
A bar or prep sink is smaller than a main kitchen sink. A small bar sink is enough for rinsing glasses and filling an ice bucket; a scullery that handles pots needs a full-size bowl. Whatever the size, leave clear counter on both sides of it.
For a secondary sink, NKBA recommends at least 3 inches of counter on one side and 18 inches on the other, both at the sink’s height; for a main cleanup sink it asks for 24 inches on one side and 18 on the other.
An undermount sink lets you wipe spills straight into the bowl and shows off the stone edge. We cover cutouts, clips and support in our guide to undermount sinks in stone countertops.
Step 5: Match the kitchen or give the pantry its own stone
Both work. Using the kitchen stone makes the pantry feel like part of the kitchen, and in some layouts it can come from the same slabs, depending on how much of them the kitchen uses.
A different stone turns the pantry into its own room, which suits a closed pantry with a door or a bar with darker cabinets. If you are weighing two stones, our article on two-tone kitchen countertops covers how to pair them.
Step 6: Decide how high the stone goes on the wall
Behind a sink or a coffee machine, the wall gets splashed. Options run from a short stone backsplash a few inches high, to tile above the counter, to stone that runs all the way up to the shelves or upper cabinets.
A full-height stone wall reads well in a small pantry because it is one calm surface; it also uses more stone. Our guide to full-height stone backsplashes explains when it pays off.
Step 7: Wait for the cabinets, then template
Stone is measured after the cabinets are installed and level, not from the drawings. The Sage Kitchen photo below shows cabinets in place before any countertops. On a pantry, the template captures the walls that are rarely square, the exact sink and faucet positions, and any appliance that needs a gap.
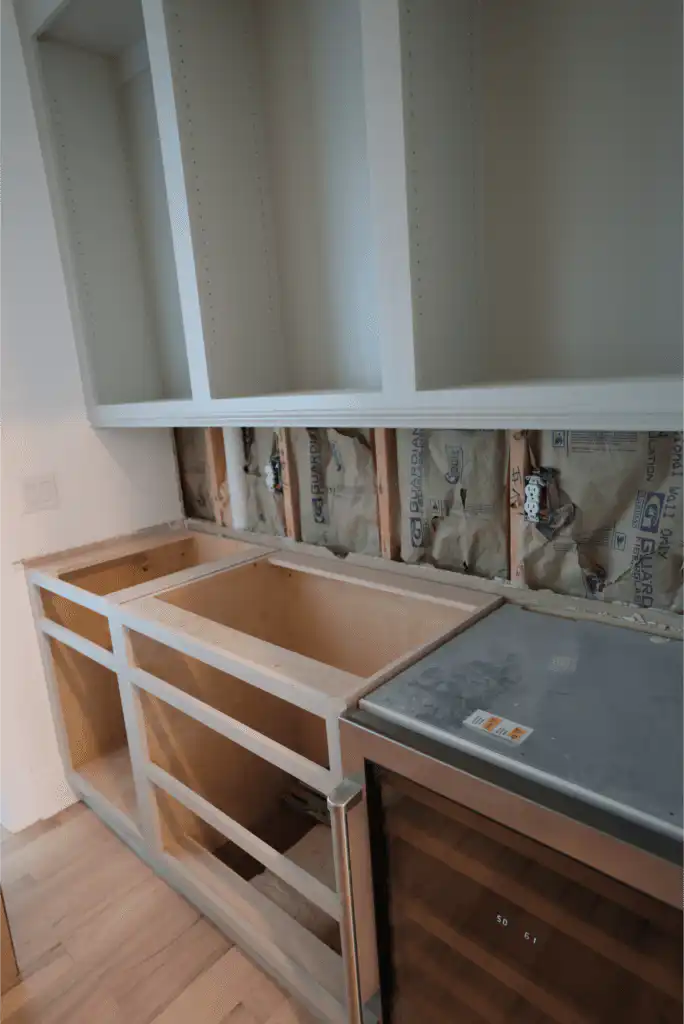
The Sage Kitchen project: cabinets installed, no countertops yet. Stone is measured once the cabinets are set and level.
Have the sink, faucet and any built-in cooler on site, or at least their spec sheets, before the template visit. Our countertop template and measurement guide lists what to prepare.
Scribing makes the stone meet uneven walls and cabinetry cleanly. On the Moncks Corner Kitchen, the project page describes each surface as scribed to the cabinetry, from the main run and cooktop wall to the pantry/wet bar; on The Sage Kitchen, the bench-top runs are being scribed to match the architecture of the home.
Planning yours
If you are planning a butler’s pantry, bring the cabinet drawing and the list of what will happen in it to our North Charleston showroom. We can compare marble and quartzite for that use side by side. Start by browsing our quartzite countertops in Charleston, then book a visit to see the full slabs before anything is templated.
Where this comes from: the project details and photos are from Stonhaus Design’s own published projects, and the measurements are from the National Kitchen & Bath Association’s planning guidelines.