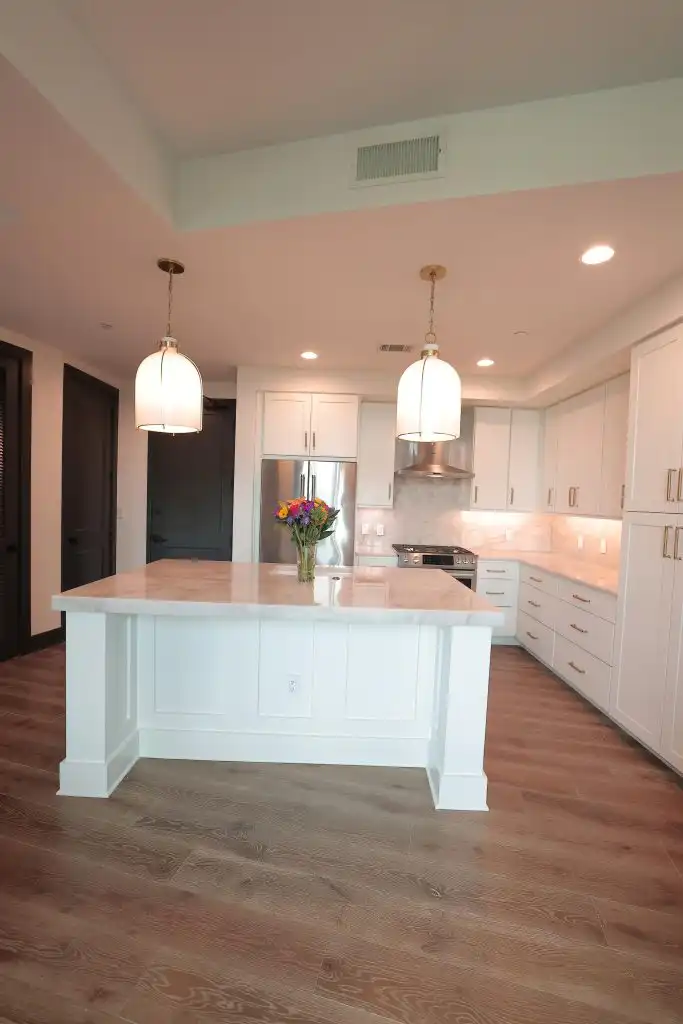
“Is a 6 foot island too small?” is one of the questions Google lists under People also ask for this search (October 2026). For most kitchens it is not: 72 inches seats three people at the 24 inches per stool that the National Kitchen & Bath Association (NKBA) recommends.
The better question is what your room allows. There is no official standard kitchen island size; what has an authority behind it is the space around the island.
The size follows from that space: leave at least 42 inches of work aisle on each working side (48 if two people cook), 36 inches for a plain walkway, and 44 inches behind stools where people walk past.
Whatever is left after those clearances is your island. Below, you will measure one number, follow the branch that matches your kitchen, and then check whether the stone top fits in one slab, the part most size guides skip.
If you only need the quick numbers, start here:
| What you want the island to do | Length | Depth |
|---|---|---|
| Extra work surface, no seats | Whatever the room allows | About 27 in |
| Two stools on one side | 48 in or more | About 40½ in at counter height |
| Three stools on one side | 72 in (6 ft) or more | About 40½ in at counter height |
| Four stools on one side | 96 in (8 ft) or more | About 40½ in at counter height |
| Stools on both sides | 24 in per stool on each side | About 54 in |
Each depth assumes 24-inch base cabinets. The sections below show where these numbers come from and how much room each one needs around it.
Measure one number before you pick a size
Stand at the edge of your main counter run and measure straight across to the first thing that cannot move: the opposite counter, a wall, or the edge of the dining area. Call it the clear distance.
Then measure the length of the open floor where the island would sit, end to end. Every figure in this guide is subtracted from those two measurements, so take them on the finished space, from counter edge rather than wall, if the cabinets are already in.
The clearances that set the limit
All of the spacing numbers below come from the NKBA Kitchen Planning Guidelines with Access Standards, the edition the association publishes online (read in October 2026). They are recommendations, and the guidelines themselves remind you that state or local codes may apply.
| Space | NKBA recommendation |
|---|---|
| Work aisle, one cook | At least 42 in |
| Work aisle, more than one cook | At least 48 in |
| Walkway with no work along it | At least 36 in |
| No traffic behind seated diners | 32 in from counter edge to wall or obstruction |
| People edge past seated diners | At least 36 in |
| People walk past seated diners | At least 44 in |
| Width per seated diner | 24 in at table, counter and bar height |
For a household member who uses a wheelchair, the access standard in the same document goes further: 60 inches behind diners where traffic passes, and seating 28 to 34 inches high, 30 to 36 inches wide and 17 to 25 inches deep.
If your kitchen is…, then your island is…
The depths here assume 24-inch-deep base cabinets (common, but check your plan) and about 1½ inches of stone past the cabinet face on each working side.
That gives three island depths: about 27 inches for a work-only island, about 40½ inches with counter-height stools on one side, and about 54 inches with stools on both sides.
Can a kitchen island be 24 inches wide, another question people ask? Yes, as a work surface: NKBA counts counter at least 16 inches deep as landing space and asks for 24 inches of depth at the main prep area. It needs shallower cabinets or an open base, and it leaves no knee space, so no stools along its sides.
If you have counters along one wall and open space opposite
- Clear distance under 105 inches (8 ft 9 in): an island does not fit with NKBA spacing. A peninsula off the end of the counter, or a table, gives you more than a squeezed island would.
- 105 to 126 inches: a work-only island, 27 inches deep, with a 42-inch work aisle and a 36-inch walkway behind it. Seats, if any, go at one end.
- 126½ inches (10 ft 6½ in) or more: an island with counter-height stools facing the open side, and 44 inches behind the stools so people can walk past.
- Two regular cooks: add 6 inches to each figure, because the work aisle grows from 42 to 48 inches.
If you have counters on both sides of the island
- Clear distance between the two counter edges under 111 inches (9 ft 3 in): no island at NKBA spacing; keep the room as a galley.
- 111 to 126 inches: a 27-inch work-only island with 42-inch aisles on both sides.
- Two regular cooks, no seating: 48-inch aisles on both sides, so 123 inches.
- 126½ inches or more: stools on one side. That aisle is both a work aisle and the space behind diners, so it takes the larger number: 44 inches for one cook, 48 for two (136½ inches in total with two cooks).
Measured from wall to wall instead of from counter edge? Add the depth of each counter run, about 25½ inches with 24-inch cabinets. For an L-shaped kitchen with stools on the open side of the island, that puts the minimum at roughly 12 ft 8 in from the back wall to the nearest obstacle.
If you are working out the length
Take the open length and subtract the passage at each end: 36 inches where the end faces a walkway, 42 where it faces a counter or appliance someone works at.
An island 10 feet long with walkways at both ends needs 16 feet of clear floor. So a 10-foot island is too big only if the room is shorter than that, or if the top must come from a single slab, as explained further down.
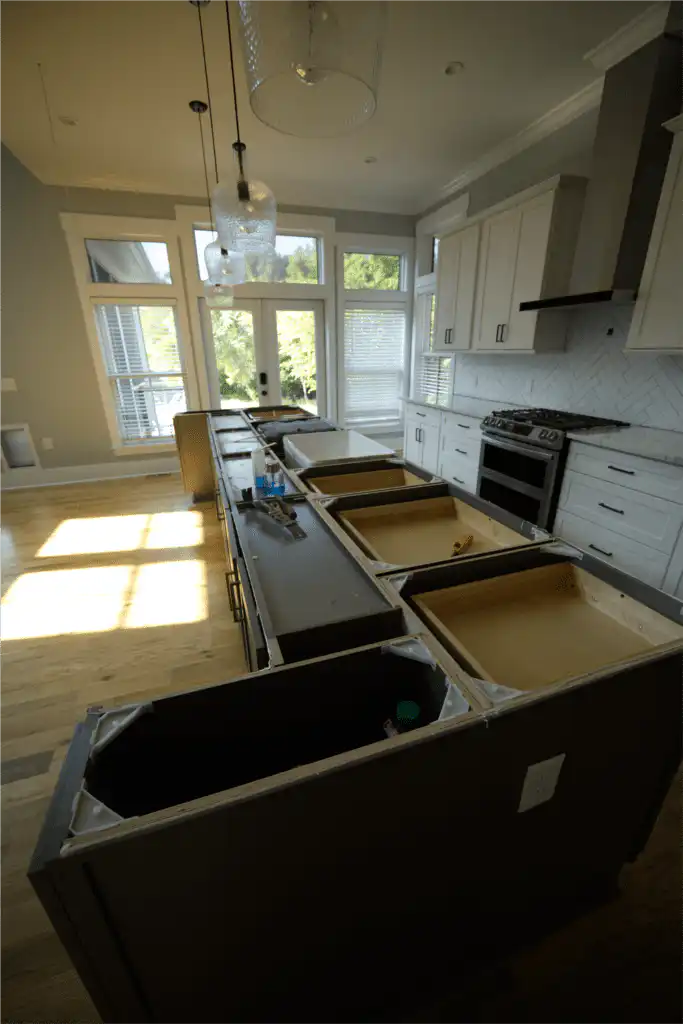
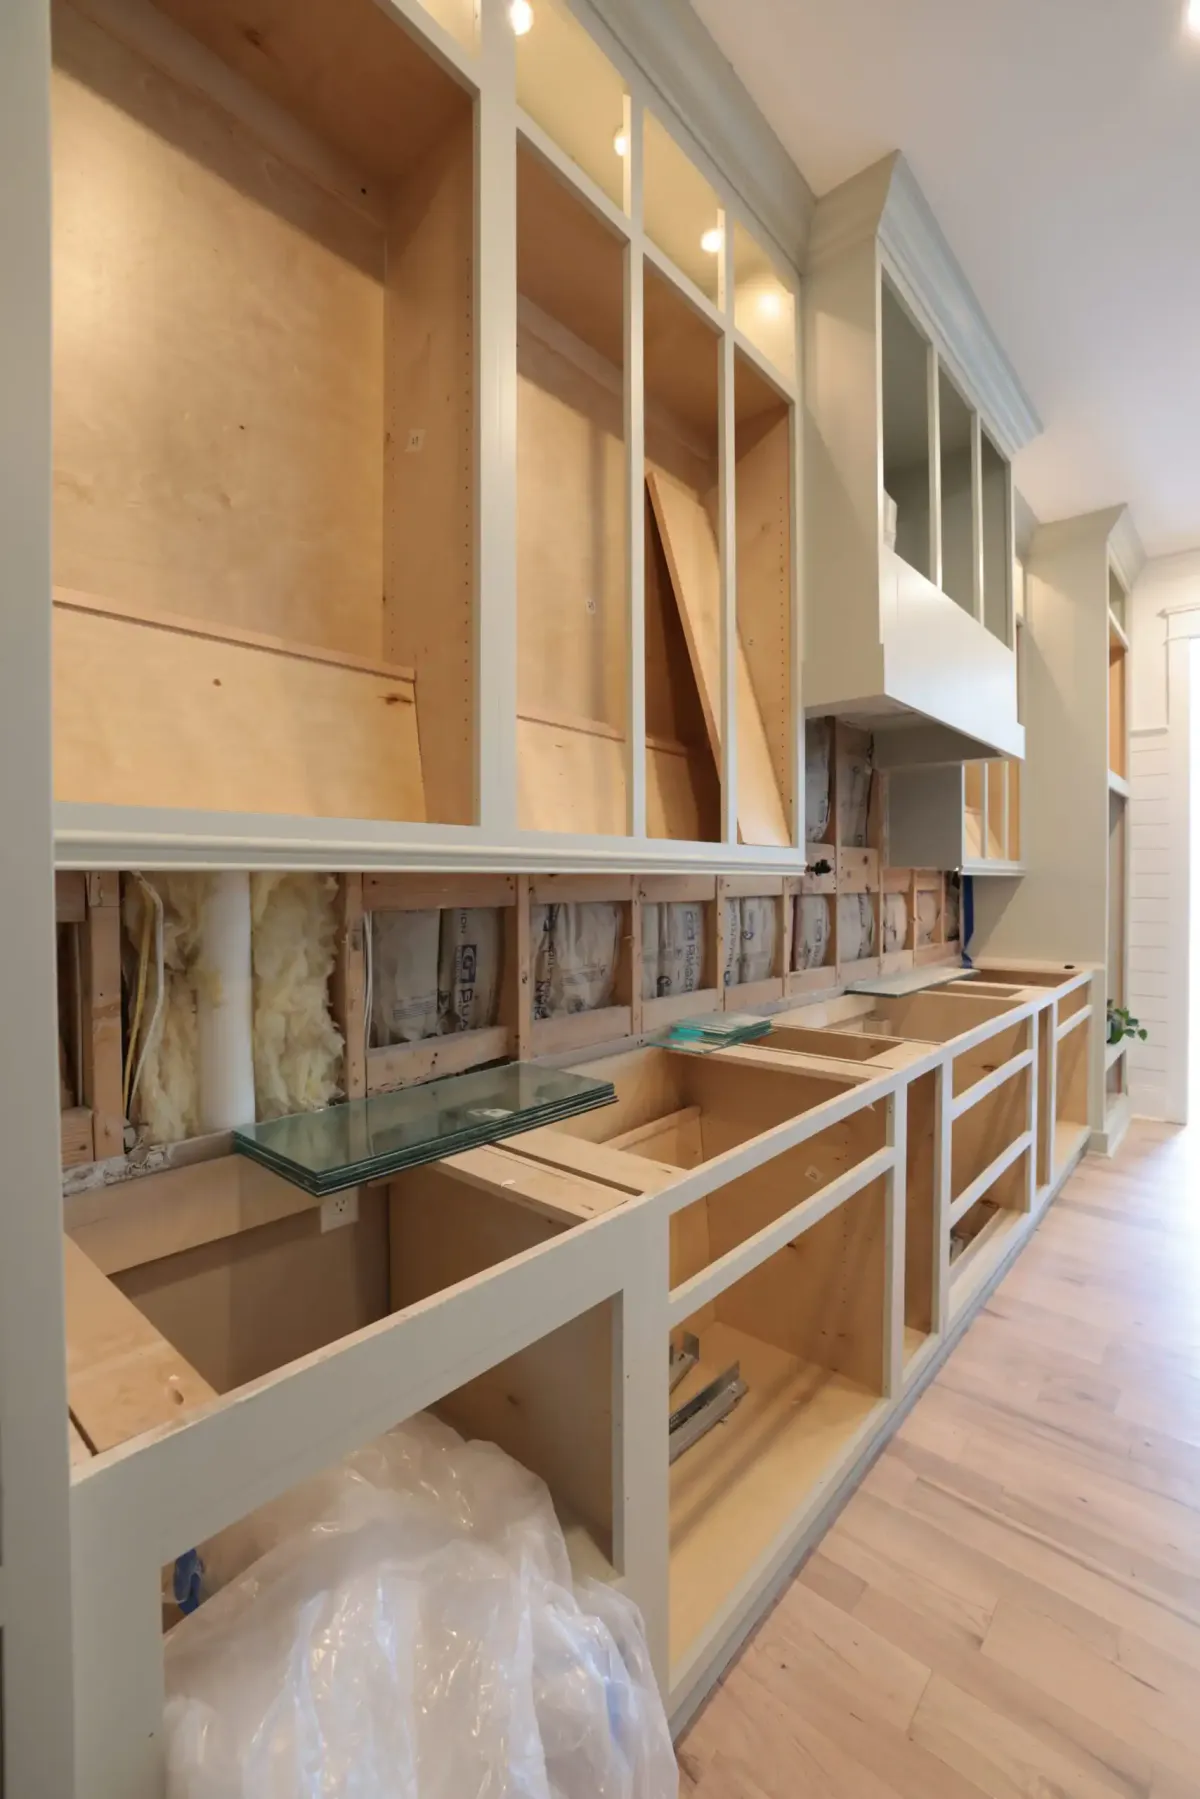
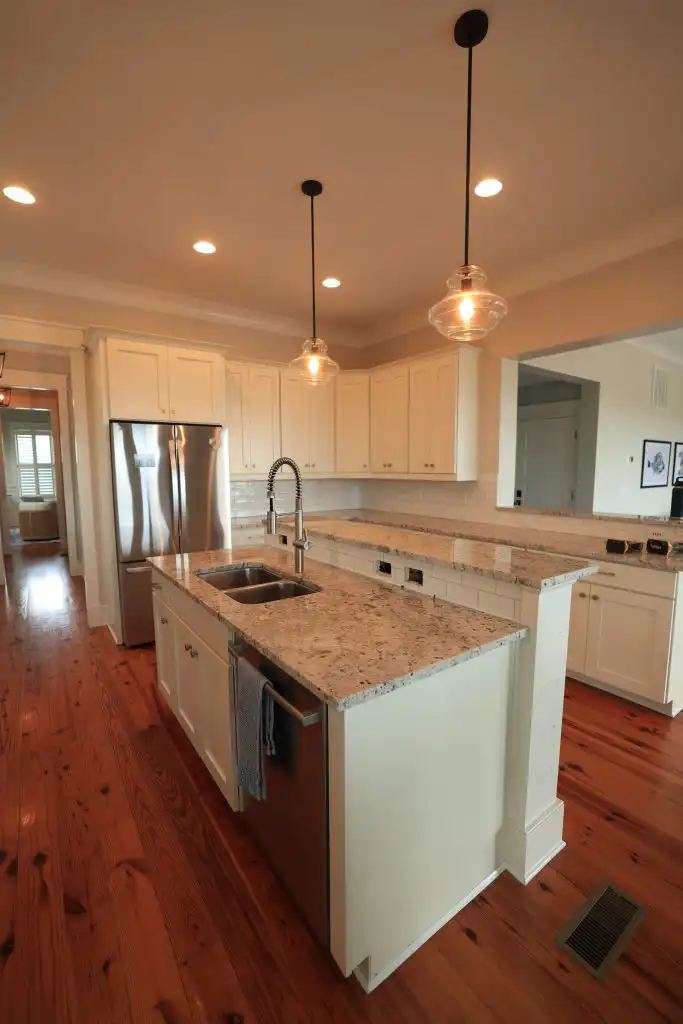
This kitchen was photographed before its stone tops went on. Look at the aisle between the long island and the range wall: that gap, not the island, is what you are really sizing. The open sink cabinet also shows where the landing space on each side of the sink will sit.
How long: seats, sinks and cooktops
Length is a sum of jobs. Add up what the island has to do and compare it with the length the room allows.
- Seating: 24 inches per stool, per NKBA. Two stools need 48 inches, three need 72, four need 96.
- A sink: NKBA asks for at least 24 inches of landing counter on one side and 18 on the other, so add 42 inches to the sink’s own width. If this is your main prep spot, the guidelines also want a continuous section at least 36 inches wide and 24 deep next to a sink.
- A cooktop: at least 12 inches of landing on one side and 15 on the other, so add 27 inches to the cooktop’s width. In an island, NKBA also extends the counter at least 9 inches behind the cooking surface when both are at the same height, which adds depth.
So a 6-foot island can carry three stools, or a sink up to about 30 inches wide with full landing space on both sides. A 30-inch cooktop needs at least 57 inches of length, before you think about seats.
Height: counter, bar or table
The NKBA seating guideline works with three heights and gives each its own knee space for every diner:
| Island height | Knee space per diner (wide × deep) | Approximate top depth with stools on one side |
|---|---|---|
| 30 in, table height | 24 × 18 in | About 43½ in |
| 36 in, counter height | 24 × 15 in | About 40½ in |
| 42 in, bar height | 24 × 12 in | About 37½ in |
The third column is the 24-inch cabinet, plus the knee space, plus about 1½ inches on the work side. The higher you sit, the shallower the top can be, which matters when the room is tight from front to back.
That knee space is an overhang, and stone has limits on how far it can reach without help. Our guide to countertop overhang sets out how far a natural stone top can extend on its own and which supports to use beyond that, so plan the seating depth and the support together.
Will the island top fit in one slab?
Here a stone island differs from a laminate one. The Natural Stone Institute, in its consumer guide to the pros and cons of granite, says slab size varies with the stone, sets a typical expectation of about 9 by 5 feet (roughly 108 by 60 inches), and notes that large islands can typically be done without seams.
Engineered quartz comes in fixed sizes. Caesarstone, as one maker’s example, lists a standard slab of 56.6 by 120 inches and, for some colors, a jumbo slab of 64½ by 131½ inches (Caesarstone US FAQ, read October 2026).
| Island top | Against a typical 108 × 60 in natural slab | Against the 120 × 56.6 in and 131½ × 64½ in quartz sizes above |
|---|---|---|
| 72 × 40½ in (three stools) | Fits, with spare length | Fits the standard size |
| 96 × 40½ in (four stools) | Fits, with about 12 in of spare length | Fits the standard size |
| 120 × 40½ in | Longer than the typical slab: a seam, or a longer slab | Uses the standard slab’s full listed length; jumbo leaves room |
| 96 × 54 in (stools on both sides) | Fits within the 60 in width | Fits within both widths, with little to spare on the standard |
| 144 × 48 in | Needs a seam | Longer than both sizes: needs a seam |
Treat these sizes as a starting point. The institute itself says natural slab size varies from stone to stone, and Caesarstone offers the jumbo size only in some colors. The only reliable answer comes from laying your top out on the actual slab you choose.
Why a seam matters more on veined stone
On a granite with a small, even speckle, a well-made seam tends to read as a thin line. On a stone with strong movement, such as Sequoia Brown quartzite with its bold linear bands of charcoal, taupe and brown, the joint interrupts the pattern in the middle of the most visible surface in the kitchen.
If your island is close to the slab limit, decide before templating whether you will size it to the slab, choose a longer slab, or accept a joint. Where that joint should go, and how fabricators hide it, is covered in our guide to countertop seam placement.
Two design choices change the slab math. Waterfall ends add the height of the island to the stone you need at each end, so a 96-inch island at counter height can call for more continuous pattern than any slab size above; our notes on waterfall countertop pros and cons weigh that look.
And if the island will be the statement stone in a plan for two-tone kitchen countertops, its size decides how many slabs of that second stone you buy. For picking the slab itself, see our guide to choosing a quartzite island.
Once your measurements are settled, the next step is the stone. You can browse our stone slabs in Charleston, SC and shortlist the ones whose size and pattern suit the island you have planned.
Measure the cabinets, not the plan
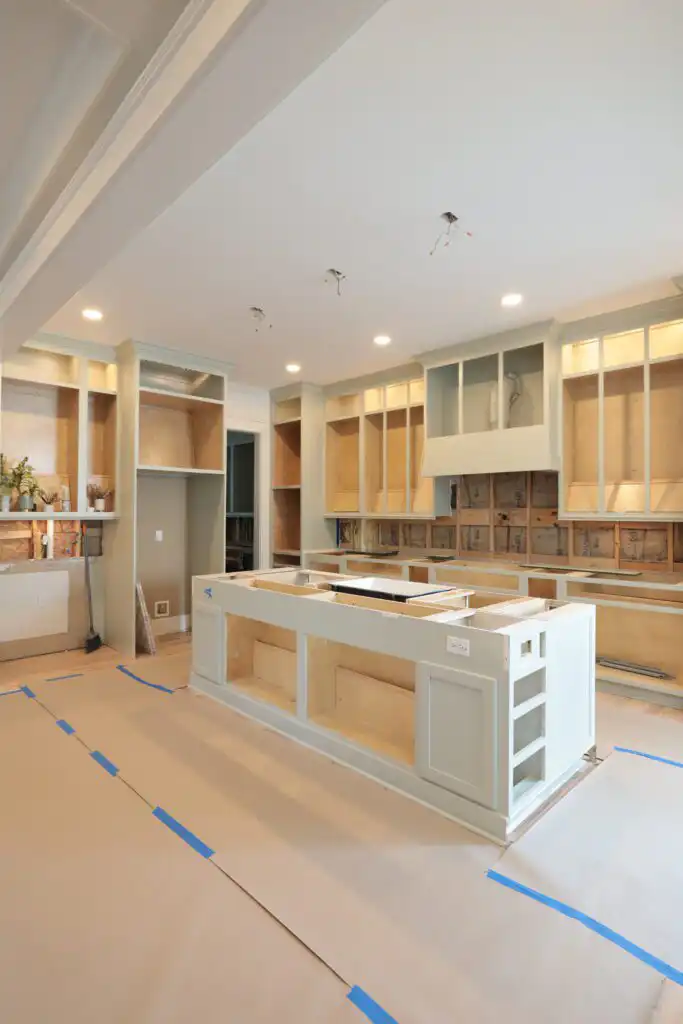
The photo above shows the stage where the real numbers appear: island and perimeter cabinets set, nothing on top yet. Our templating starts here, by measuring the installed cabinets, because those cabinets, not the drawing, are what the stone has to fit.
When you come to choose a slab, bring what lets a specialist check the fit on the stone itself:
- the clear distance and open length you measured, and which branch above you landed in;
- a sketch of the island with its length, depth and height, marking the seating side;
- the number of stools and the seat height you prefer;
- the width of any sink or cooktop going into the island, and the model if you have it;
- whether you want waterfall ends or a second stone;
- photos of the space, especially if the cabinets are already in.
Plan your island top with us
At our North Charleston showroom, with more than 200 slabs in stock, you choose the whole slab, not a sample, with one of our specialists. Bring your sketch, compare the stone slabs in Charleston, SC that suit the size you need, and ask to walk through how your island lays out on the slab you pick.
About the sources: clearances, seating widths and knee spaces come from the NKBA Kitchen Planning Guidelines with Access Standards; slab sizes come from the Natural Stone Institute and Caesarstone. This article was prepared by the Stonhaus Design team, and we do not publish prices because they change with the slab and the job.